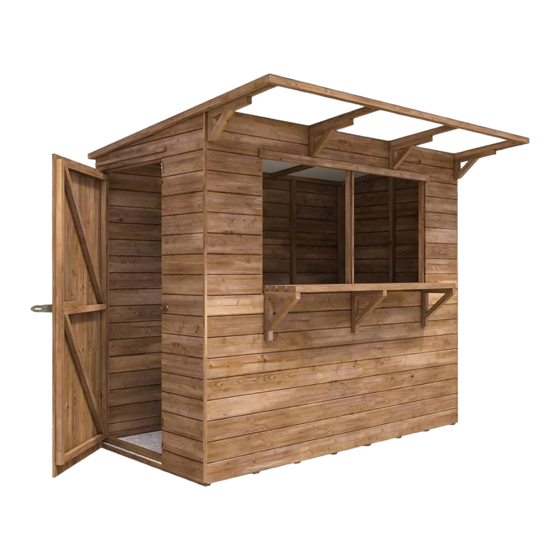
Dunster House G3-1824HPB Installation Manual - Page 14
Browse online or download pdf Installation Manual for Garden Houses Dunster House G3-1824HPB. Dunster House G3-1824HPB 18 pages. Hangover pent bar 1.8m x 2.4m

G3-1824HPB - Hangover Pent Bar - Assembly Steps
STEP 5: ROOF
Items:
1x WPC 2400x600x10.Z
1x WPC 2400x1200x10.Z
1x GAZ-H Trim 2400mm
2x ST-PT35351730
2x ST-PT35352400
2x ST-PT35351110.A
2x ST-PT15151860
2x ST-PT15151960
24x HEXAGON SCREW 25mm+SADDLE
WASHER+CAP
4x 70mm Screws
22x 60mm Screws
Roof Beams:
Fix 2x ST-PT35351110.A as shown in the image to the right.
Use 2x 70mm Screws for each (1x for the front and 1x for the back.)
SCREW 60 mm
ST-PT15151970
Roof:
Place 1x WPC 2400x1200x10.Z onto the top of your shed to seal the
roof assembly.
Use 16x HEXAGON SCREW 25mm+SADDLE WASHER+CAP to fix
the WPC board to the Roof frame.
Set the GAZ-H Trim to the fixed panel and seal it on both sides using
relevant sealant. (Not Provided)
Finish off this step by placing 1x WPC 2400x600x10.Z onto the
smaller side as shown in the image.
Use 8x HEXAGON SCREW 25mm+SADDLE WASHER+CAP to fix
the WPC board to the Roof frame.
** Pre-drill parts before fixing screws **
ST-PT35351730
ST-PT35352400
GR-SELF DRILL SCREW 25mm
SCREW 70 mm
ST-PT35351110.A
Corner Trim:
Position 2x ST-PT15151860 and ST-PT 15151960 (timber
trims) in each corner of the shed, as shown in the diagram to
the left.
Fix each corner trim into both panels, use 10x 30mm nails
per each corner trim.
Eaves Edging:
Fix the eaves edging batten - 2x ST-PT35351730 & 2x
ST-PT35352400 to your shed as shown in the diagram.
Use 22x 60mm Screws ensuring they are evenly spread.
ST-PT15151870
WPC 2400x1200x10.Z
GAZ-H TRIM 2400mm
WPC 2400x600x10.Z
Page 14
