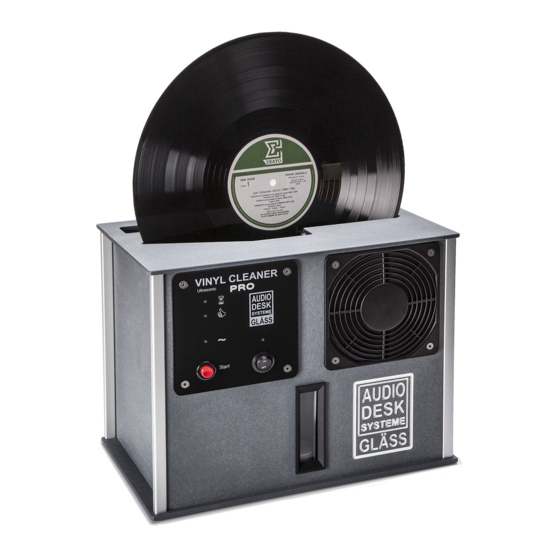
Audiodesksysteme Gläss Vinyl Cleaner PRO Operating Instructions Manual - Page 8
Browse online or download pdf Operating Instructions Manual for Ultrasonic Jewelry Cleaner Audiodesksysteme Gläss Vinyl Cleaner PRO. Audiodesksysteme Gläss Vinyl Cleaner PRO 14 pages.
Also for Audiodesksysteme Gläss Vinyl Cleaner PRO: Operating Instructions Manual (13 pages)

6 Operation
CAUTION !
During normal use, no liquid may leak out of the device. In case of a fault, disconnect
the mains plug and contact the manufacturer.
All position details refer to the position numbers in the section `Product Overview´
6.1 Preparation
1. Place VINYL CLEANER PRO on a level surface.
- Check using the spirit level (5).
- The air bubble must be roughly in the middle of the circular mark.
2. Check the filling level of the cleaning liquid.
- The float must be aligned with the upper edge of the level indicator.
- Refill with cleaning liquid when necessary (see section "Changing cleaning liquid ). "
- On completion of (5), the green LED (14) lights up when the level is sufficiently high
and the red LED (13) stops lighting up.
3. Check the wet filter (7).
- The wet filter must be inserted completely into the slot.
- The cover must be fitted on properly.
4. Connect to the power supply.
- Connect the round jack plug (24 V) of the power supply unit (10) to the socket (9).
- Connect the power supply plug (230 V) to the earthed power socket.
5. Turn on the main switch (11).
- The LED (16) above the main switch must light up yellow.
- If the filling level is sufficient, the LED (14) lights up green. If the LED (13) blinks red,
recheck the filling level.
The device is now ready for use.
6.2 Cleaning a record
CAUTION !
Make sure the record is rotating after the cleaning process has been started.
Only a rotating record guarantees a normal cleaning process and prevents damages
of the record. No liability is assumed for damage if this warning is disregarded
1.
Repeat steps as described in section 6.1 "Preparation".
2.
Insert the record into the device from above and press down until a slight resistance can be felt.
3.
Turn the record counterclockwise until the wiper lips (4) fold upwards and you feel the record
slipping noticeably between the driving rings.
4.
Press the start button (12).
- An acoustic signal can be heard.
- The LED (15) lights up yellow.
5.
There is an acoustic signal following the completion of the cleaning process and the LED (14)
lights up green.
6.
Take out the cleaned and dried record.
.
V 1.0/2016 Page 8 of 14
