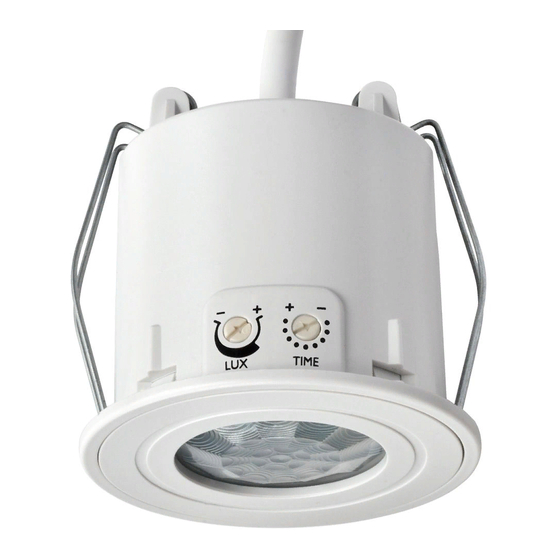
DANLERS CEFL PIR SEALED Installation Notes - Page 9
Browse online or download pdf Installation Notes for Switch DANLERS CEFL PIR SEALED. DANLERS CEFL PIR SEALED 15 pages. Ceiling flush pir occupancy switches

Uploading ControlZAPP settings to
ControlZAPP hardware
UPLOAD of settings to the ControlZAPP hardware can only be achieved within the range of
Bluetooth Low Energy (approximately 100 metres). It is recommended that initial UPLOAD
is done with line of site to the hardware so that feedback can be seen. The ControlZAPP
hardware must be installed and checked according the appropriate wiring regulations.
Printed installation instructions are supplied with every ControlZAPP product and are also
available on the DANLERS website www.danlers.co.uk
Uploading Profile to Single or Multiple devices
-
Launch App to display 'ControlZAPP' home page. See Diagram 24.
-
Select the required PROFILE you wish to upload and press UPLOAD button. The
PROFILE IN USE is indicated in the upper blue panel.
-
New screen appears 'UPLOAD PROFILE' with a dialogue box 'Scanning'. Any devices
found within range will be listed. If no devices appear you may not be within signal
range, Bluetooth may not be enabled on your mobile / tablet or the devices may
not be connected.
-
Select the device you wish to UPLOAD (or 'Cancel). A small LED flashes red and green
on the selected device showing it is connected. The connected lighting load to the
device also flashes. Press 'Use this Device', a blue up pointing arrow indicates it is
selected and the button bottom right indicates 'Upload to 1'. If you wish to upload to
just this device press 'Upload to 1'.
-
To add another device repeat this process with each of the devices you wish to
UPLOAD with that PROFILE. As each one is added to the list the button bottom right
adds one on to indicate how many devices are selected ' Upload to 2'. etc. Press this
button when complete.
-
Select 'DONE' if 'Upload complete', if not you may have to repeat process.
-
Repeat for other connected devices ensuring the correct PROFILE is selected.
Configure - Device Options
There are several options only available when connected by Bluetooth 'Smart' to the
ControlZAPP device.
-
To connect with a ControlZAPP enabled device ensure Bluetooth is switched ON on
your mobile / tablet. Press the Configure field (pale yellow box) (see diagram 24).
-
New screen appears 'CONFIGURE' with 3 options (see diagram 25). Press 'Device
Options'. New screen appears ' SELECT DEVICE' (see diagram 26) showing any
ControlZAPP enabled devices within range. Select the device you wish to configure. A
small LED flashes red and green on the selected device showing it is connected and a
new screen appears 'Ready'. Select 'Use this device' (or 'Cancel').
-
New screen appears 'DEVICE OPTIONS' with a menu of options (see diagram 27).
Name
Option to rename the ControlZAPP device. Select 'Name'. Type name then press 'Okay'
key
One or more security passwords to be created ensuring other ControlZAPP users cannot
tamper with settings. By selecting 'Key' you will be given an option to both name Key
(multiple Keys could be set up for different customers) and to create a password for that
key. These personised settings are only visible to the user of that phone (see diagram 28).
Download Profile
-
This function allows the DOWNLOAD of a PROFILE back to the ControlZAPP app
on your mobile or tablet should you lose your settings or not have the settings
available. (This option is the reverse of the UPLOAD PROFILE function).
-
Press 'Download profile'. Profile is downloaded to App. New screen appears 'PROFILE
DOWNLOADED'. Choose name and press 'Save' (or discard'). The downloaded profile
will be listed in the PROFILES listings.
Ballast type
-
This function is used when the dimming function is enabled in MODES in combination
with a dimmable ballast conneceted to the lighting load. Select the ballast type as
applicable: DALI, 1-10V or Switching Only (see diagram 29).
Override
-
This function will make the device turn the load ON permanently and disables
automatic mode switching.
Diagram 24
Diagram 25
Diagram 26
Diagram 27
Diagram 28
PAGE 7
