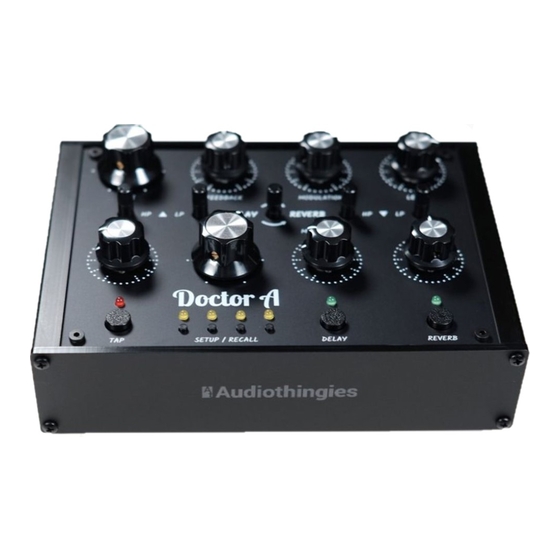
Audiothingies Doctor A Manual Addendum - Page 2
Browse online or download pdf Manual Addendum for Recording Equipment Audiothingies Doctor A. Audiothingies Doctor A 3 pages.
Also for Audiothingies Doctor A: Quick Start Manual (4 pages)

[1.1] Memory Recall
V1.1 introduces a new memory system of 1 + 7 banks containing 8 memory slots each.
The first bank' slots only stores delay + reverb types and no other settings are stored (this is
the V1.0 behavior: pot position is not saved, or "LIVE" mode).
The 7 following banks slots are regular presets, every single parameter is stored, except Delay
and Reverb On/Off status.
[1.1] Loading a bank
Hold TAP button, after 0,5 seconds, the 4 SETUP/RECALL buttons will show the active bank.
To switch bank, use the 4 SETUP/RECALL buttons. 2 layers with 4 banks each are available.
Switch between the 2 layers by holding one of the 4 SETUP/RECALL buttons.
NB: Once a bank is selected, preset 1 within that bank is auto-loaded
[1.1] Loading a preset
To load a preset, use the 4 SETUP/RECALL buttons. 2 layers with 4 presets each are
available. Switch between the 2 layers by holding one of the 4 SETUP/RECALL buttons.
[1.1] Saving a preset
Saving a preset is possible only in banks 2 to 8.
Bank 1's "presets" are auto saved.
To save a preset (assuming you are already in banks 2 to 8):
1 – Hold (and maintain) TAP and quickly hold DELAY + REVERB until both LEDs are blinking
2 – Release DELAY + REVERB (keep TAP engaged)
3 – Select destination by using the 4 SETUP/RECALL buttons (keep TAP engaged)
4 – To confirm, press DELAY+REVERB until LEDs stop blinking (keep TAP engaged)
5 – To abort, just release buttons
NB: you cannot change bank while saving
