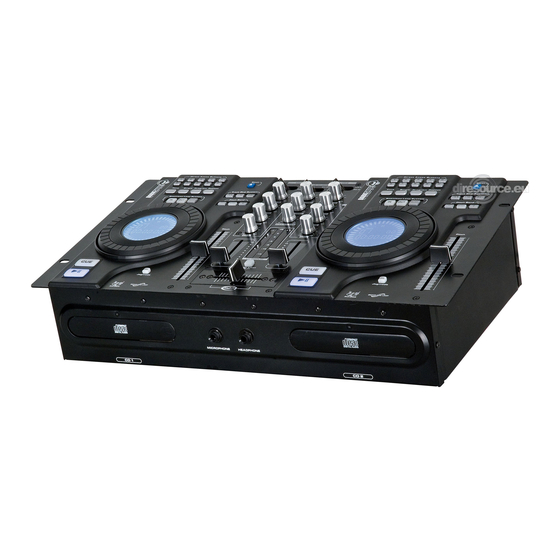
DAPAudio DS-CDJ-250 MKII Product Manual - Page 12
Browse online or download pdf Product Manual for Music Mixer DAPAudio DS-CDJ-250 MKII. DAPAudio DS-CDJ-250 MKII 20 pages. Audio mixer
Also for DAPAudio DS-CDJ-250 MKII: User Manual (19 pages)

13. B.Skip
:
Use this button to go back to the beginning of the current track or select a previous track for playing.
14. Eject:
Press this button to open and close the disc holder. The disc holder cannot be opened during
playback, so stop playback before pressing the button.
15. +10 (Track + 10 Button):
Use the button to skip forward 10 tracks.
16. F.Skip
:
Use this button to skip to the next track.
17. Pitch +:
The CD speeds up as long as this button is pressed. Release the button to return to the original BPM.
18. Pitch:
If you push this button, you can adjust the pitch with the pitch fader.
19. Pitch –:
The CD slows down while this button is pressed. Release the button to return to the original BPM.
20. Pitch Fader:
Use this fader to adjust the CD pitch. Slide up to decrease the pitch, slide down to increase the pitch.
21. Jogmode:
When the jogmode button is illuminated it indicates the Shuttle Wheel is in search mode, when not
illuminated it indicates the jog wheel is in pitch bend mode.
Mixer Functions
22. Channel Cue Selector:
This selector allows you to choose which channel you wish to monitor in your headphones, to the left is
Channel 1 to the right is channel 2.
23. Chanel 1 Input Selector:
Use this switch to choose which input will be controlled by that channels corresponding volume fader.
For example the Channel 1 Input Selector allows you to choose between Line 1(The internal CD-
player), Line 2 which is the RCA 1 input or Phono 1 (if the phono/ Line switch (48) is set in Phono
position). The same applies to channel 2.
24. Cue Level:
Is used to adjusts your headphone monitor's volume level.
25. Channel 1 Gain:
Channel input level is determined by the Gain control. With the Gain control you can boost
the signal of each individual channel. Adjust the input- sensitivity in order to match the incoming
signals to the mixer's internal operation level.
26. Microphone Level:
Use to adjust the volume of the microphone channel.
27 /29 /30. Channel 1 Equalizer Section (HI / MID / LOW):
Use the 3 band equalizer to adjust the tone for each channel by using the HI, MID and LOW controls.
28. Master Level:
Use to adjust the volume of the Master output.
31. Channel 1 Fader:
The fader controls the volume of a single channel. The channel faders should be positioned within the
range of -5dB to 0dB, leaving you with sufficient room to allow precise matching
32. Crossfader:
The crossfader allows you to mix evenly from one source to another.
33. Channel 2 input selector:
See 22.
34. Channel 2 Gain:
See 25.
35 /36 /37. Channel 2 Equalizer SECTION (HI / MID / LOW):
See 27/29/ 30.
38. VU METER:
The stereo VU Meter allows you to monitor the dB levels of the Left and Right Master output.
39. Channel 2 Fader:
See 31
10
