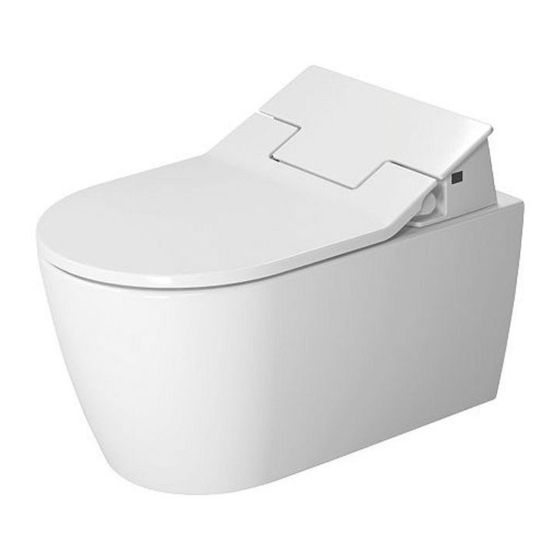
DURAVIT SensoWash Slim Mounting Instructions - Page 4
Browse online or download pdf Mounting Instructions for Bathroom Fixtures DURAVIT SensoWash Slim. DURAVIT SensoWash Slim 12 pages. Shower toilet unit
Also for DURAVIT SensoWash Slim: Mounting Instructions (7 pages)

Important information
Mounting instructions information
These mounting instructions come as part of
the Duravit shower toilet and should be read
carefully prior to installation.
Explanation of the key words and symbols
Indicates a hazardous situation
DANGER
which, if not avoided, will result
in death or serious injury.
Is used to address practices
NOTICE
not related to physical injury
Link to the mounting information in
this section
Target readership and qualifications
The shower toilet and associated water
connection should only be installed by qualified
plumbers. The electrical installation should only
be carried out by qualified electricians.
Risk of product and/or
NOTICE
property damage!
> Observe the local installation regulations
and any country-specific standards at all
times.
Risk of product damage due
NOTICE
to freezing water!
> Do not install the shower toilet in rooms at
risk of frost. The room temperature must
not be less than 39°F (4 °C).
Risk of product damage due
NOTICE
to condensation!
> Leave the unit switched off for a few hours
if it has previously been moved from a cold
location to a warm location.
4
Safety instructions
Risk of fatal electric shock!
DANGER
Do NOT remove individual shower toilet
components.
> If the supply cord on this unit is damaged, it
must be replaced by the manufacturer, the
service agent or similarly qualified persons
in order to avoid a hazard.
> Appliances have to be correctly earthed.
Mounting instructions
Please read pre-installation information sheets
prior to the installation. These are available to
download on the Internet at www.duravit.com.
An installation video of the complete
shower toilet is available at duravit.com/mnt_
sewa_slim.
Simply use
this QR code
Checking the installation requirements
1
(Diagram 1)
The installation of the WC ceramics with
pre-installation of the shower toilet water
and power supplies is described in sepa-
rate instructions.
> Ensure that the supplies and WC
ceramics have been installed and
mounted according to the instructions
and regulations.
Positioning the metal bracket
19
(Diagram 19)
> Continue with step 22 for screw
mounting.
> Follow the instructions up to step 21
for mounting with adhesive and then
continue with step 26.
SensoWash Slim_MAL_US_57004/15.08.1
