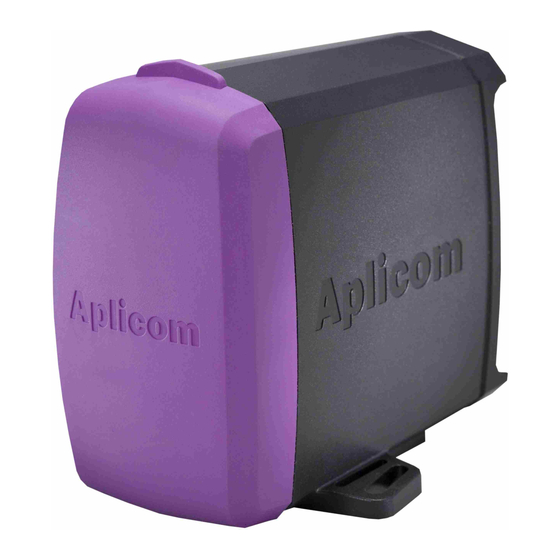
APLICOM A1 Installation Manual - Page 6
Browse online or download pdf Installation Manual for GPS APLICOM A1. APLICOM A1 8 pages.

WARNINGS
Warranty void if case is damaged.
•
A1 device and all peripherals must be powerless during the installation. Turn off ignition and
•
disconnect power.
Do not use detergents to clean the device.
•
GPRS may interfere sensitive electronics.
•
All devices connected to A1 device must have a fuse protection.
•
Power, ignition and signal wires connected to A1 must be fuse protected, max 10A.
•
It is recommended to use installation materials provided Installation Kit for A1 for installation.
•
As a rule, when pulling Aplicom cables through inlets or tubes during installation, it is not allowed to
•
pull directly from connectors. Instead the pull must be directed to cable itself.
For example, in cable D335083 there's heat shrink assembled just next to Microfit connector (A1 end
on the cable), which can be utilized for pulling.
Connector bodies of the antennas are conical. Avoid extreme torque.
•
The place of installation should be safe from detergents and corrosive substances.
•
Do not install unit in places were safety maybe compromised.
•
PWR connector Pin 3, +12V, Ext. Battery is only for 12 volt lead acid battery do not use it with any
•
other power sources.
Ensure CAN connection and limitations from vehicle manufacturer or dealer.
•
INSTALLATION CHECKLIST
Action/Functionality
DEVICE INSTALLATION
The place of installation is safe from
accidental knocks and excessive humidity.
Unit identification label is protected.
Device is fastened tightly.
CABLES
The cables are led carefully along a well-
protected route to the device and the
peripherals.
All cables are correctly connected and
secured with fuses.
The cables are fastened or supported in
such a way that during use they exert no
torsion on the connectors.
ANTENNAS
GSM antenna is fitted in such a way that its
visibility to base stations is as unobstructed
as possible (vehicle roof; as far as possible
away from other antennas, flashing lights
etc.).
GPS antenna is fitted in such a way that its
satellite visibility is as unobstructed as
possible (vehicle roof; as far as possible
away from other antennas, flashing lights
etc.).
Antenna cables are led carefully along a
well-protected route to the device.
POWER ON DEVICE
Connect PWR and turn IGN on.
Check that power indication LED A is
green.
TROUBLE SHOOTING
OK
Problem
No power.
No GPRS
connection.
No GPS position.
If none of the above helps, please contact your
equipment dealer for further assistance.
Solution
Check that all cables and
fuses are connected.
PWR is connected and IGN
is on.
Power indication LED A is
green after power is
connected and IGN is on.
Check that SIM card is
inserted.
Check PIN CODE
requirements from
application manual.
Check that the GPS antenna
has open sky view.
Check interferences from
other structures to GPS
antenna.
NOTE! Electronic heated
windshield may disturb GPS
antenna sky view.
5
