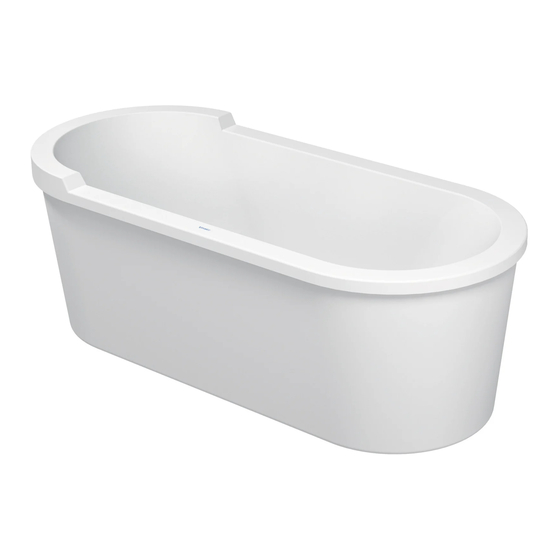
DURAVIT Happy D 71 19 Series Mounting Instruction - Page 10
Browse online or download pdf Mounting Instruction for Plumbing Product DURAVIT Happy D 71 19 Series. DURAVIT Happy D 71 19 Series 20 pages. Whirltubs freestanding

de
Montage
1
Vor der Installation Wanne und Schürze auf mögliche Schäden prü-
fen. Die Wanne aus der Verkleidung heben.
2
Stellen Sie sich sicher, dass die Füße innerhalb des Ausschnitts der
Verkleidung direkt auf dem Fußboden stehen.
3
Die Füsse auf eine saubere und ebene Oberfläche stellen.
4
WArNuNg!
Stellen Sie sicher, dass beim Installieren der
Wanne keine Wasserrohre oder elektrische Installationen im Boden
zerstört werden.
5
Mit Hilfe der Wannenfüße und einer Wasserwaage die Wanne
ausrichten. Die Höhe zwischen der Unterkante der Wanne und dem
Boden muss x mm betragen.
x = Höhe der Verkleidung
6
Einen Abstand von 10 mm zwischen Boden und Sifon einhalten.
7
Kontermutter anziehen.
8
Wanne entfernen.
9
HINWEIS!
Stellen Sie die Verkleidung so auf den Boden, dass das Lüftungsgit-
ter gegenüber dem Bedienfeld positioniert ist.
10 Fixierungslöcher anzeichnen.
11 Die Löcher bohren.
12 Dübel anwenden.
13 Verkleidung am Boden befestigen.
14 Montagepaneele auf den Rand der Verpackung stellen.
15 Den flexiblen Schlauch am Siphon befestigen.
16 Den Schlauch am Ablaufrohr befestigen.
10
MAL_53461/05.09.2
en
Mounting
Before installing please check your tub and skirting for damage (caused
during transport). Lift the tub out of the skirting.
Make sure that the feet are positioned evenly within the cut-out of the
skirting.
The feet should be placed on a clean and level surface.
WArNINg! Make sure that there are no heating pipes or electrical
wires running under the floor which could be affected by the Installation
of the tub.
Align the tub with the help of the feet and a spirit level. The distance
between the sub rim of the tub and the floor must be x mm.
x = height of the panel
Keep a 10 mm gap between the floor an the siphon.
Tighten the lock-nut.
Remove the tub.
NoTE!
Place the skirt on the floor and make sure that the ventilation opening
will be placed vise versa to the operating unit.
Mark the fixing holes.
Drill the 4 holes.
Insert the raw plugs.
Secure the skirting to the floor.
Place the panels on the rim of the packaging.
Attach the flexible hose to the siphon.
Attach the flexible hose to the outlet.
