Apogee Rosetta 200 User Manual - Page 12
Browse online or download pdf User Manual for Media Converter Apogee Rosetta 200. Apogee Rosetta 200 20 pages. 2-channel 24 bit, 192 khz, ad/da converter
Also for Apogee Rosetta 200: Datasheet (2 pages), White Paper (2 pages)

ROSETTA 200 – User's Guide
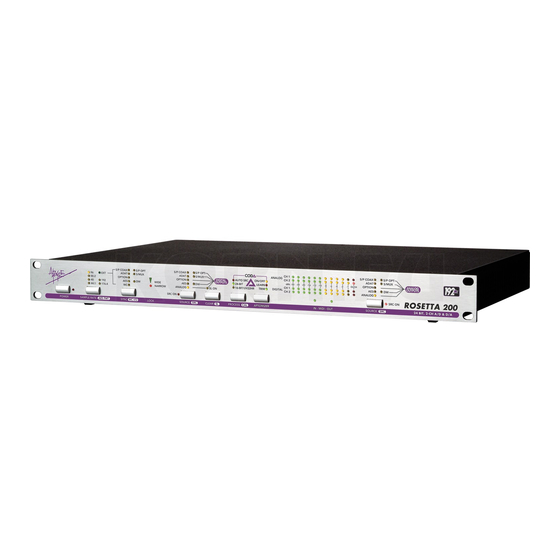
Navigating the Front Panel
1
2
3
About Secondary Parameters - Most front panel buttons control both a primary and secondary parameter; as
indicated by the two labels under each button. Secondary parameters are usually accessed by pressing and
holding the corresponding button.
1)
Power Switch – The POWER Switch may be configured to operate in two distinct modes : 1) the unit
powers up immediately when power is applied to the AC input (for example, when the unit is installed in a
rack with a Master power switch); 2) the POWER switch must be pressed to turn the unit on. See page 10
for POWER switch configuration details.
The LED adjacent to the POWER switch indicates that the unit is receiving a proper AC input, and is in
Standby mode. The LED extinguishes when the unit is powered on.
2)
SAMPLE RATE - This parameter determines the sample rate of the unit, either by selecting an internally
clocked rate between 44.1kHz and 192kHz or by locking to an EXTernal clock source as selected by the
SYNC parameter. When EXT is selected, the 44.1-192 LEDs display the sample rate of the external source.
3)
AES FMT (AES Format)– At sample rates between 88.2 and 192 kHz, the Rosetta 200's AES I/O may be
configured for either Single or Double wire operation.
To determine the current AES format, press and hold SAMPLE RATE; Double wire format is indicated by the
illumination of the 3 DW LEDs above the SYNC and SOURCE buttons.
To change the AES format, first press and hold SAMPLE RATE and then press SYNC to toggle DW on or off.
When clocking to the AES input, the AES format is determined by the format of the SYNC value selected
(either AES or AES + DW).
4)
Optical Output Format – At sample rates between 44.1 and 96 kHz, the Optical Output format may be set
to either ADAT (S/MUX) or S/PDIF.
To determine the current Optical Output format, press and hold SAMPLE RATE; the format is indicated by
the optical format LED lit above the SYNC and SOURCE buttons.
To change the Optical format, first press and hold SAMPLE RATE and then press SOURCE (to Digital
Outputs) to toggle between ADAT (S/MUX) and S/P OPT.
By selecting one Optical format as a SOURCE (to Digital Outputs) and setting Optical Output to the other
format, it's possible to convert between ADAT (S/MUX) and S/PDIF Optical formats.
5)
SYNC – When SAMPLE RATE is set to EXT, the SYNC parameter determines the unit's clock source.
S/P COAX – clock is derived from the S/PDIF In coaxial connector
S/P OPT – clock is derived from the Optical In connector; the input signal is assumed to be S/PDIF format.
ADAT – clock is derived from the Optical In connector; the input signal is assumed to be ADAT format, thus
the resultant sample rate will be in the 44.1-48kHz range.
ADAT + S/MUX – clock is derived from the Optical In connector; the input signal is assumed to be S/MUX
format, thus the resultant sample rate will be in the 88.2-96kHz range.
OPTION – clock is derived from the connected option card input (e.g. X-FireWire)
AES – clock is derived from the AES In 1 connector.
AES + DW – clock is derived from the AES 1 In connector; the input signal is assumed to be Double wide
format, thus the resultant sample rate will be in the 88.2-192kHz range.
WC – clock is derived from the Word Clock In connector.
4
5
4
APOGEE ELECTRONICS
