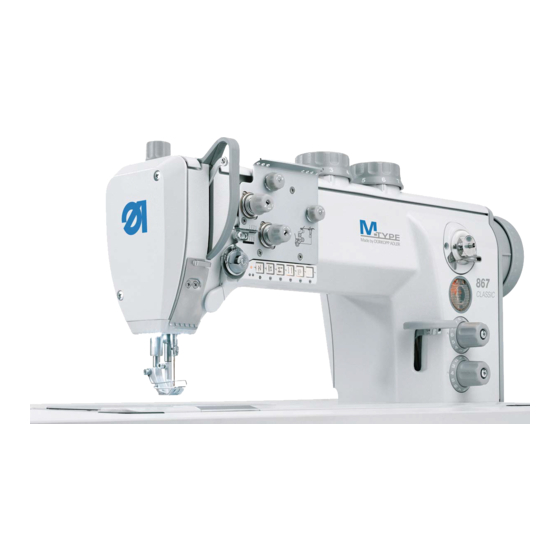
DURKOPP ADLER 0867 590174 Instructions Manual - Page 10
Browse online or download pdf Instructions Manual for Sewing Machine Accessories DURKOPP ADLER 0867 590174. DURKOPP ADLER 0867 590174 16 pages. Fitting remaining thread monitor for var. kits

Anbauanleitung des Restfadenwächters
Instructions for fitting remaining thread monitor
2
Operation and function sequence
1
2
3
*FA stands for Fadenabschneiden
meaning thread cutting!
2.1 Winding the bobbin thread
A
Ausgabe/Edition:
10.2006
für div. Bausätze (siehe Pkt. 1.1)
for var. kits (see section 1.1)
After the detection:
A
"Bobbin almost empty, only a certain amount of thread left"
Prerequisite:
The hook bobbin has to be inserted so that its groove A is
underneath.
–
LED 1 turns on when the machine is switched on.
–
During the sewing process, if the beam from the light barrier
is reflected by the surface of the bobbin:
- the sewing process is interrupted.
(Efka parameter F195/3; see chapter 5
parameter values for the control unit)
- and/or the LEDs 2 and 3 for each corresponding
remaining thread monitor will flash.
Either the left one 2 or the right one 3 or for both
remaining thread monitors 2 + 3.
–
Release the pedal and then toe the pedal to complete the
seam.
- the amount of thread in the bobbin is normally
sufficient to complete the seam.
–
Pull the pedal back to cut the thread.
During the thread cutting or the sewing foot lifting, the blowing
of the light barrier will be activated simultaneously in order to
"keep it clean".
–
If the bobbin is changed after the thread cutting, the LED will
switch off after approx. the next 14 stitches. An immediate
sewing foot lifting, after thread cutting (FA*), is again
guaranteed.
As a reminder to replace the bobbin :
–
The LEDs 2 + 3 keep on flashing.
–
If under the parameter F-195 in the EFKA control, the thread
monitor mode "3" is selected, the sewing foot will not be lifted
automatically after the thread cutting.
Pedal in rest position and pull the pedal back: the sewing foot
is lifted.
–
If the reminder to replace the bobbin is ignored, the LED will
continue flashing and the sewing foot will not be lifted
automatically after the next thread cutting (FA).
Attention!
When changing the bobbin, turn off the main switch, danger of
injury!
When replacing the bobbin, insert it so that its groove A is
underneath.
This procedure is described in the instruction manual. However,
make sure to do the following:
When winding up the thread, the groove A has to be positioned
towards the machine.
Printed in Federal Republic of Germany
Teile-Nr./ Part-No.:
0791 867702
Blatt:
von
Sheet: 10
from 16
