Datacolor SpyderLENSCAL Manual Manual - Page 5
Browse online or download pdf Manual Manual for Test Equipment Datacolor SpyderLENSCAL. Datacolor SpyderLENSCAL 9 pages.
Also for Datacolor SpyderLENSCAL: User Manual (13 pages)

1
Get set
a
set Up your spyderLenscal
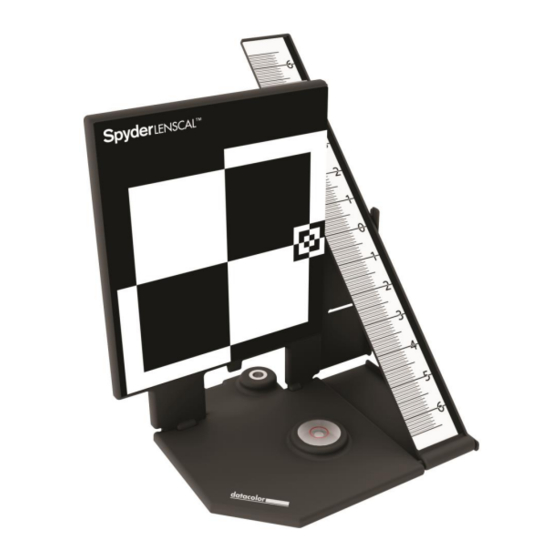
Unlock the SpyderLensCal and place the ruler in the correct
orientation with the main target. Use the tripod mount if
desired. The bubble indicator will let you level the tripod
for most effective alignment with the camera. You can also
place the SpyderLensCal on a desk, table or shelf.
b
set Up your camera
Select the camera and lenses you want to calibrate
and set them to autofocus with the stabilizing function
off. Make sure you're in Aperture Priority or Manual
mode. Your camera should be set to the widest aperture
(lowest number) on the lens with an ISO 200 setting.
Maximize the camera's contrast and sharpness settings
to make the readings of the SpyderLensCal easy to see.
c
set the distance
To calibrate your lenses, it is recommended that you
make the distance from the camera to the SpyderLensCal
the same distance at which you normally shoot images
with each lens. The SpyderLensCal and your camera
should always be in parallel positions, at the same height,
with the front of the lens parallel to the front target face
of the SpyderLensCal. See the illustrations at right for
correct positioning.
d
shooting environment
Choose a location with appropriate lighting. Be sure
the environment is not too dark, and does not have too
much uncontrolled light directly behind the camera.
Light emanating from other angles in front of the target
location from one or more sources is acceptable.
A studio shoot set up, while optimal, is not necessary.
Optimal Distance = Distance Frequently Used /
Focal Length x 30~50 times e.g. 35mm x 30~50 = 105~175cm
Guidebook | Page 4
Camera Settings: Use the widest aperture setting
(often 4.0 or 2.8) to create the shortest depth of field
