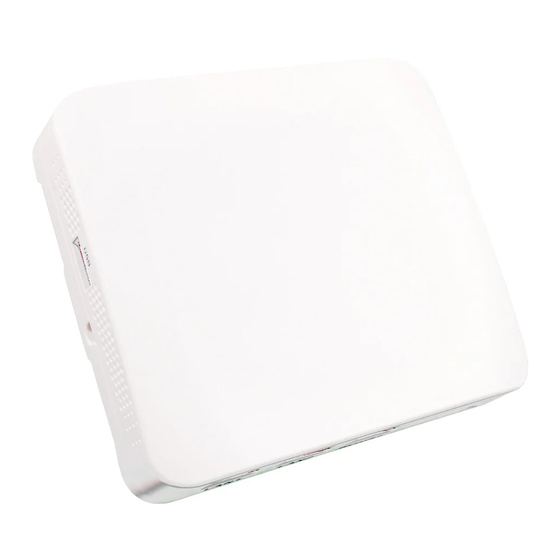
4IPNET EAP705 Product Handbook - Page 8
Browse online or download pdf Product Handbook for Wireless Access Point 4IPNET EAP705. 4IPNET EAP705 17 pages. Enterprise access point

Hardware Installation
Please follow the steps mentioned below to install the hardware of EAP705:
Step 1. Place the EAP705 at the best location. The best location is usually at the center of your intended
wireless network. The EAP705 can be mounted on wall outlets or on any flat surface;
Step 2. Connect one end of the Ethernet cable to the Uplink port and the other end of the cable to a switch,
a router, or a hub; or use the 110 punchdown block as your uplink connection. The 110 punchdown
block may be connected with the following pin assignment:
The EAP705 is now connected to your existing wired LAN network.
Step 3. There are three ways to supply power to EAP705
a) Connect the DC power adaptor to the power jack socket.
b) The Uplink port is capable of receiving PoE. Connect an IEEE 802.3af-compliant PSE device
(e.g. a PoE-switch) to the Uplink port of EAP705 with the Ethernet cable.
c) Use a standard 110 punchdown tool to punch copper wires onto the punchdown block (pin
assignment 568A)
Step 4. Fasten the Access Point to the mounting plate
a) Align the Access Point to the mounting plate using the arrow printed on the back of the Access
Copyright © 4IPNET, INC. All rights reserved.
Orange
White Orange
Brown
White Brown
4
EAP705 Enterprise Access Point
Blue
White Blue
Green
White Green
Product Handbook
Product Handbook
Product Handbook
Product Handbook
ENGLISH
