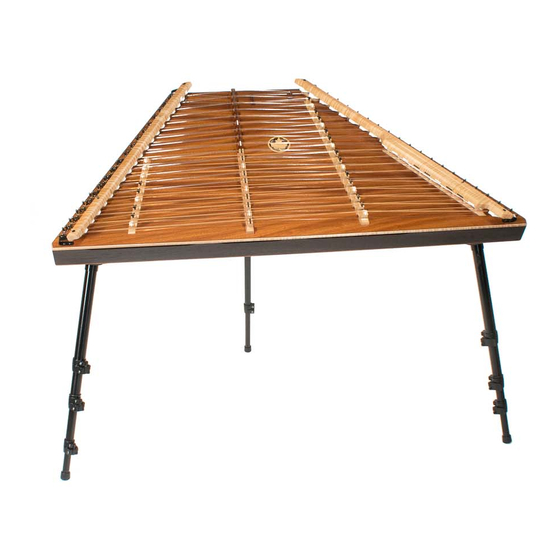
Dusty Strings Hammered Dulcimer Owner's Manual - Page 6
Browse online or download pdf Owner's Manual for Musical Instrument Dusty Strings Hammered Dulcimer. Dusty Strings Hammered Dulcimer 18 pages.
Also for Dusty Strings Hammered Dulcimer: Owner's Manualbook (14 pages)

We use three types of strings on our dulcimers. Depending on the model,
your dulcimer will have strings that are plain steel music wire, phosphor-bronze, or
wound.
e steel strings seldom break under normal conditions and will sound good
for years. If you need to replace one, you can fi nd a loop-end guitar or banjo string
of a matching gauge at most music stores, or you can purchase one from your dealer
or order one directly from us.
Phosphor-bronze strings are not as readily available. If you should require
replacements, your best bet would be to order them through your dealer or directly
from us.
is type of wire has diff erent physical properties than steel, and in some
situations provides a superior tone (as on some of the lower courses of the D45
model). However, there is a trade-off : phosphor-bronze has a lower tensile strength
than steel and "work hardens" (i.e., becomes brittle) with use, so it is subject to
more breakage than steel. If you like, you can try replacing a phosphor-bronze
string with a steel string of the same gauge, or perhaps one gauge thicker, and see if
you fi nd the resulting tone acceptable.
Several of our models use wound strings on some of the bass courses. As time
goes by their tone will begin to dull, as with guitar strings, and they should be
replaced. It's hard to notice the change because it is so gradual, so we recommend
choosing an easily remembered date on which to note whether a year has gone by
with the same wound strings. If so, you should treat yourself to some new ones.
All of these strings can be ordered individually or in spare string kits that contain
at least two of each size of string on your dulcimer (to cover most string breakage
situations).
To replace a broken string, turn the string's tuning pin counter-clockwise for
three or four complete revolutions and remove the broken sections of string.
is important because the tuning pins have fi ne threads that cause them to descend
further into the pinblock with each turn. Place the loop of the new string over the
string's hitch pin on the other side of the instrument and stretch it across to the
tuning pin, making sure it is sitting in position on top of its main bridge and is
passing through the appropriate hole in the opposite bridge. It is helpful to have
someone hold the loop end down on the hitch pin while positioning and stretching
the new string, but in a pinch you can devise something else to secure it your-
self —try a bulldog-type clip or rubber band.
Before you go any further, take a moment to look closely at an adjacent tuning
pin to see how the string coils neatly down the pin, with no excess wire sticking out
of the hole.
is is what you're going to imitate.
ensure proper string positioning. Hiding the sharp end of the wire inside the pin
keeps it from puncturing your fi ngers.
Cut the string with wire snips (or sacrifi ce a pair of nail clippers), leaving two
inches of extra length past the tuning pin. Put the end of the string inside the hole
in the pin. Hold it there and turn the pin clockwise to form a sharp right-angle
String Types
Replacing Broken Strings
e neat, tight coils look good and
is
3
