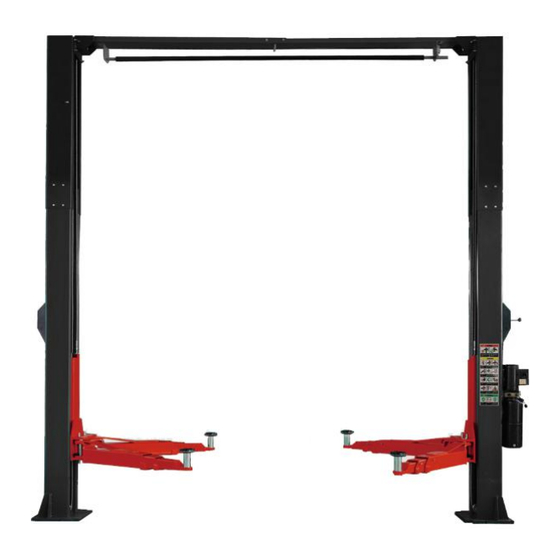
AussieCarHoists High-Lift Equipment YL-350W Installation And Operation Manual - Page 7
Browse online or download pdf Installation And Operation Manual for Lifting Systems AussieCarHoists High-Lift Equipment YL-350W. AussieCarHoists High-Lift Equipment YL-350W 20 pages. Two post clear floor/base plate car hoist

Steps of installation
Step1 :Choose installation site
Check the follows before installation :
1.Workplace:good building construct,enough work place,no stumbling block to stop working
2.The place where installing the equipment should not be any unsafe element, such as leakage of
rain、moist、inflammable、explosive.
3. Foundation of equipment: the installation should coincide with the basement drawings
Step 2:Basement、ground
1. The basement of the equipment must have the strength which fit to the requirement,otherwise,
the lift will crush the ground, cause the damage of equipment and injury & death of people.
2. The installation basement must assure certain levelness, the tolerance is not allowed over 5mm
(the tolerance within the extent can be adjusted by using washers)
3. Not allow to install lift on the pitch ground or other non-concrete ground (there must be the solid
and reliable basement).
4. Not install lift on the ground with craze or junk concrete ground
5. Prohibit installing lift on second floor or higher floor without the approval of architect.
6. The motor of power unit should be protected by security arrangement.Please not to install the lift
outdoor to avoid something wrong with the motor in rainy days.
7. Constructing according to the basement drawing we provided.(the last page)
8. The lift must be installed on the concrete base where the compressive strength is not lower than
200kg/cm², and the thickness of concrete basement is not lower than 300mm, the strength is not
lower than 250 class, the just finished concrete basement must be solidified and kept over 28 days.
Step3: The layout of equipment installation
1. Confirm the position of the lift installation first.
2. Confirm the position of the power unit and there must be enough space for the column of the
power unit installation.
3. Draw up the position of the baseboard of the column with chalk after the confirmation to assure
the tolerance within 3mm to avoid effecting the installation of the lift.
4. Draw up the outline of the baseboard with chalk after the confirmation of the position. (refer to the
specifications)
5. Check carefully to assure the layout is correct.
6. Put the two columns in their own position first before installing and connecting the lift, and further
watch the position. Attention: When erect the column to assure that there must be enough 、 no
obstacle and no influence of the maintenance working space (advice to choose 4000*7000mm).
