AUSTRAL CLOTHES HOISTS ADD-A-LINE Installation Instructions - Page 2
Browse online or download pdf Installation Instructions for Dryer AUSTRAL CLOTHES HOISTS ADD-A-LINE. AUSTRAL CLOTHES HOISTS ADD-A-LINE 2 pages. 2.4m wall mount

To cord Add-a-line
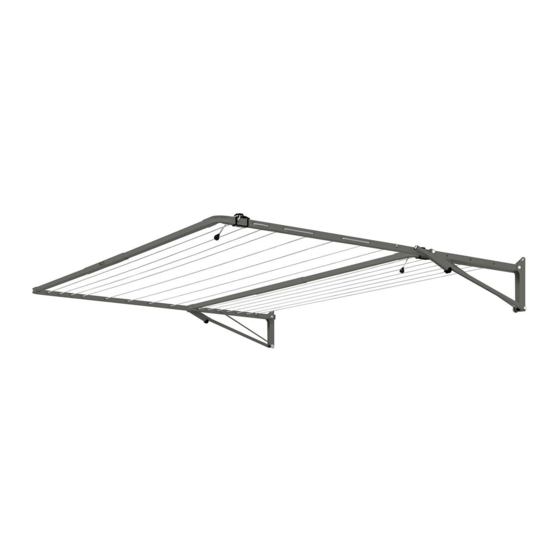
Please Note: Only cord 8 lines on large frame + 7 lines on small frame. The small frame must be able to fold up and down behind the
large frame to function correctly.
To cord small frame: Slide the black Tension Lock towards the front of the frame. Position Tension Lock over the first punched hole and
commence cording at this point. Thread cord through the first hole from the outside of the frame, pull cord through leaving about
30cm of line hanging on the outside of the frame. Loosely tie the cord end around the frame to stop the cord pulling through the hole,
or alternatively, raise the lever on the Tension Lock and push the cut end through the small hole under the lever. Press lever down to
temporarily clamp cord end. Thread cord through the opposite hole on the left Arm, pulling the line through to the outside of the
frame. Insert end of cord into the next hole on the same side. Pull cord through and thread through hole on the opposite side.
Continue cording, moving towards the back of the frame. Cord all 7 lines, sliding the Cord Tidy (6mm black grommet) onto the end of
the cord BEFORE threading through the last hole. Tie the back line off by bringing the cord OVER THE TOP OF THE TUBE. Tie the cord
off using several knots as shown in image below.
DO NOT WRAP THE CORD AROUND THE SIDE ARM as the cord will foul when folded down into the Wall Bracket.
To cord large frame: Repeat above procedure, cording 8 lines only.
To finalize cording: Ensuring front cord end is secure, work from back to front, pull each line taut. Tip: place your hand on the centre
back line and pull down on cord. Place other hand on the next line along, pulling down on the line and taking up the cord excess on
the previous line. Continue moving from one line to the other until you reach the front Tension Lock (positioned over the first hole).
Holding the front cord tight, raise the Lever on the Line Tension Lock and pull the cut end of the Cord through the hole directly under
the Lever. Pull the Cord tight, then lock the Lever down to secure the Cord. Repeat tensioning if required. Wrap the line in and
around the Line Tension Lock (forming a U shape) to secure the Cord. Leave approximately 12-15cm of excess Cord hanging. Slide
the Cord Knob onto the end of the line. Knot the Cord end and pull Cord Knob down to hide the knot. See Diagram.
Fit plastic caps to front of the 15mm Braces and ends of Side Arms.
TO LOWER LINE
a) Position your hand on the centre of the front Joiner Bar.
b) Push the Front Bar up firmly until you hear the 'clicks' or see
the Clips move upwards and grip the sideBrace.
The Catches will pass over the screw heads and then drop
down to disengage.
c) Lower the frame down.
The smaller Addaline frame is raised by manually securing the wire Braces into the Side Arm's larger punched holes.
To lower the frame, hold the front bar and remove each wire Brace from the Side Arm hole. Carefully lower frame.
-2-
TO RAISE LINE
A)
Position hand on the centre of the front Joiner Bar.
b)
Lift the Front Bar until the Catches pass the top screws
By approximately 1cm (1/2"). Gently release the
Front Bar. The Catches will drop and stop against the
Screw head. If frame is raised too far, line will not lock
into place. If this occurs, lower the frame andraise
again.
c)
Lower frame slowly and allow Catches to lock into
position.
October 2
