AUSTRALIAN MONITOR TX8201 WITH VCA Operating Manual - Page 3
Browse online or download pdf Operating Manual for Music Mixer AUSTRALIAN MONITOR TX8201 WITH VCA. AUSTRALIAN MONITOR TX8201 WITH VCA 8 pages. 8 channel stereo mixer with direct outputs installation series

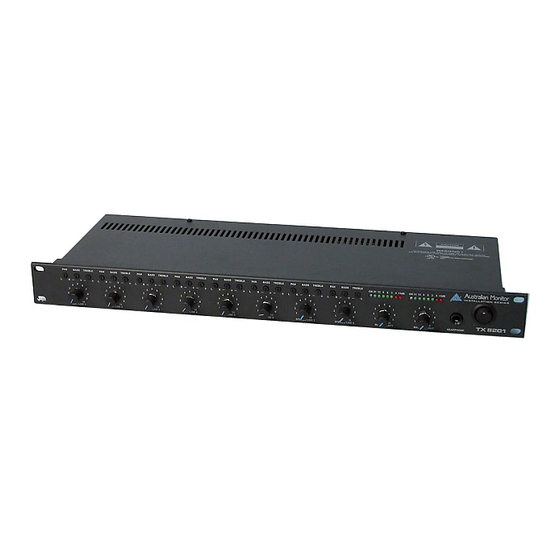
LED Display VU Meter
An 8 segment LED VU meter is provided for each of the master Left and Right outputs. The VU meters
indicate output signal level from -21 to +3 dB. For normal operation the LED's should rarely oscillate in
the red zone. If the LED's in the red zone are lit continually, then the output level controls should be turned
counter-clockwise to reduce the output level. Too much output level can cause signal distortion and a
mismatch with the device that the mixer is driving. The far left blue LED on each the VU meters is for
indication that AC power is switched ON to the unit only.
Headphone Output Socket
A 1/4" TRS stereo socket is provided for the connection of monitor headphones. The output level to the
headphones is a nominal 3 volts @ 600 ohms and is connected before the master output level controls.
Adjusting the master output level controls will not effect the headphone output level.
Power Switch & "On" LED
The black rocker switch on the right hand side of the front panel is used to switch the mixer on and off. The
'up' position is on. When the amplifier is connected to an appropriate AC power source and is switched on,
the blue on LED's (located on the left side of both LED displays) will illuminate.
AC Power Inlet
The 3 pin IEC power inlet is located on the left side of the rear panel and accepts a standard mains power
lead fitted with an IEC connector. The operating voltage is 115 VAC @ 60 Hz . The inlet is equipped with
an inbuilt AC fuse holder fitted with a 2 amp slow blow fuse plus one spare. Power consumption is 15 VA.
Please ensure that the mains power cord is disconnected before attempting to check or
replace this fuse.
Tone Generator Terminal Strip
The TX8201 includes a four tone generator module. The tones available include Alert, Evacuate,
Pre-Announce and Bell. The four tones may be activated via a simple contact closure. To activate
a tone, just short out the common terminal with the terminal labeled with the tone that you want to
use. When activated, any of the four tones will mute all inputs except for channels 1 and 2. While the tone
generator function is (as default) set up to be present on both the master outputs and the direct outputs (of
channels 1-6), it can be disabled for all or any of the direct outputs via an internal dip switch (see the
'Internal Adjustments' section of this manual for more details). A trim pot (R104), which is located on the
pcb behind the left channel master output, may be adjusted to vary the level of tone generator output.
