Bresser 4964130 Instruction Manual - Page 19
Browse online or download pdf Instruction Manual for Accessories Bresser 4964130. Bresser 4964130 20 pages.
FAQ
rld
Symptom
Batteries do not get in
... when using batteries
... when using external
power supply
Want to charge via USB
Want to set up the unit
from PC via USB
Backlight goes off
Backlight brightness is
too high or too dark
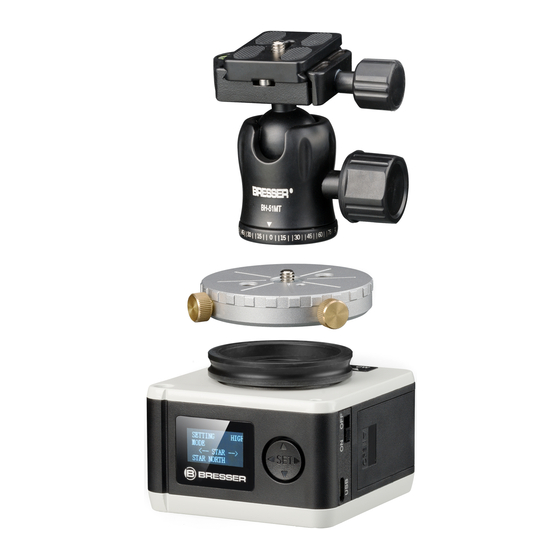
Want to use the unit with
a tripod with U3/8 screw
Pressing the down button
changes the mode
arbitrarily
I do not understand what
is being displayed
Setting can not be
changed after operation
Stars are blurred
There is a play in the
main body axis
Manual_4964130_PM-100-Astro-Photo-Mount_en_BRESSER_v102021a.indd 19
Manual_4964130_PM-100-Astro-Photo-Mount_en_BRESSER_v102021a.indd 19
Cause
Battery exhausted
Battery is inserted upsi-
de down
Lack of remaining
battery
Cable is not properly
connected
Backlight illumination
time is too short
Brightness is not set up
correctly
Correct mode is not
selected
Hemisphere is not
correctly selected
Misaligned polar axis
Exposure time is too
long
There is not solid
connection to the tripod,
the pan head or the
camera
Solution
Replace with new battery
Check the polarity (+ and –) of the battery
and insert batteries again in right direction
Charge external power supply
Check the direction and rattling of the cable
and connect it correctly
Cannot be charged via USB cable
Set-up the from PC via USB is not supported
Backlight illumination time can be set at „15
sec.", „30 sec." or „light all the time". For
setting details see page 7
Backlight brightness can be selected in 20
steps. For setting details see page 7
Remove the adapter from the tripod mount
on the bottom of the unit
Pressing the down button on the mode
setting screen to switch to the previously set
mode.
Pressing the up button will bring screen to
mode selection screen.
For astronomical photography mode, see
operation screen on page 12, for time-lapse
mode, see operation screen on page 17
Setting change is not possible while the unit
is in operation.
Turn off the power and set it again.
The programmed contents differ in each
mode. Select the mode suitable for the
purpose
Select the correct mode according to
observation site
See page 8 and set the polar axis again
Change ISO sensitivity and exposure time
setting.
Tighten the screws and check additional
connection points for any play
It is not abnormal as some play is
necessary for the smooth movement of the
gears
19
12.10.2021 15:23:30
12.10.2021 15:23:30