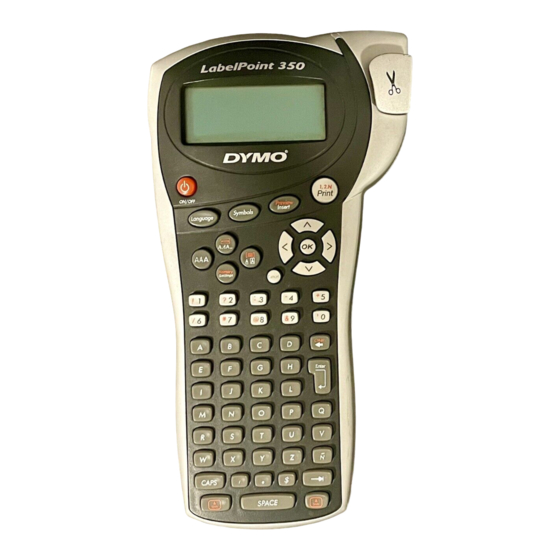
Dymo ExecuLabel LP350 User Manual - Page 3
Browse online or download pdf User Manual for Label Maker Dymo ExecuLabel LP350. Dymo ExecuLabel LP350 17 pages. Electronic label maker

About Your New Labelmaker
With your new DYMO ExecuLabel
labelmaker, you can create a wide variety of high-
quality, self-adhesive labels. You can choose to
print your labels in many different sizes and styles.
The labelmaker uses DYMO D1 label cassettes in
widths of 6 mm (1/4"), 9 mm (3/8"), 12 mm (1/2"),
or 19 mm (3/4"). Label cassettes are also available
in a wide range of colors.
Visit www.dymo.com for information on obtaining
labels and accessories for your labelmaker.
Warranty Registration
Please complete the warranty registration card and
return it to the appropriate Customer Support
address within seven days. Visit www.dymo.com
for details.
Getting Started
Follow the instructions in this section to print your
first label.
Connecting the Power
The labelmaker is powered by standard batteries,
an optional, rechargeable battery pack, or an AC
power adapter. To save power, the labelmaker will
automatically turn off after two minutes of inactivity.
Inserting the Batteries
The labelmaker uses six AA alkaline batteries.
To insert the batteries
1. Remove the battery compartment cover. See
Figure 2.
™
LP350
2. Insert the batteries following the polarity
3. Replace the battery compartment cover.
not be used for a long period of time.
Using the Battery Pack
An optional, rechargeable battery pack can be
used to power the labelmaker. The battery pack
can be purchased through your local DYMO
reseller.
The labelmaker must be connected to external
power through the AC adapter to charge the
battery pack. When the battery pack is completely
discharged, allow four to five hours to fully charge
the battery.
battery charging indicator may continue to display
even though the battery pack is fully charged.
To use the battery pack
1. Open the battery compartment door.
2. Insert the battery pack. See Figure 3.
Figure 2
markings (+ and –).
Remove the batteries if the labelmaker will
When connected to external power, the
Figure 3
US
AUS
NZ
3
