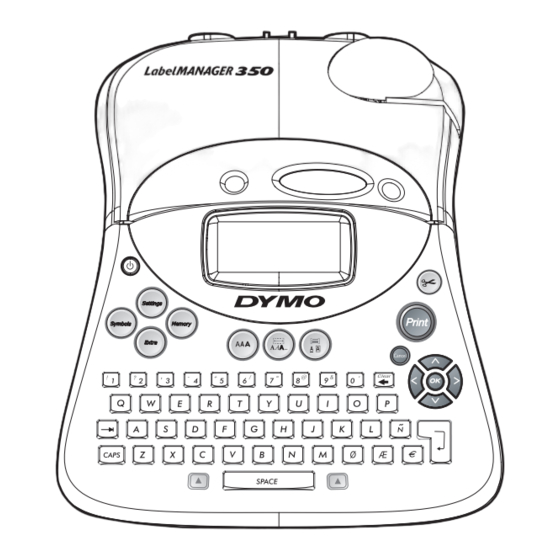
Dymo LabelManager 350 User Manual - Page 9
Browse online or download pdf User Manual for Label Maker Dymo LabelManager 350. Dymo LabelManager 350 14 pages. Electronic labelmaker

LM350 WEU.qxd
12-11-2003
3. Press Extra.
4. Use the arrow keys to select Incremental
Print and press OK.
5. Press Print.
Setting a Fixed Label Length
Normally, the length of the label is determined
by the length of the text entered. However, you
may wish to make a label for a specific
purpose that is a fixed length regardless of the
length of the text.
You can specify a fixed length for a label in
2mm (0.1") increments from 40 mm (1.5") to
400 mm (15.0").
The preset fixed length is 4" (100 mm).
Any change you make to the fixed-length set-
ting remains in effect until you change it again.
To set the label length
1. Press Shift-Style/Fixed Length.
2. Use arrow keys to select ON and press OK.
3. Press the Up arrow to increase the length.
4. Press the Down arrow to decrease the length.
5. Press OK to set the fixed length.
6. After you print the label, press Clear to turn
off the fixed label length setting; otherwise,
all your subsequent labels will print with
this fixed length.
Previewing Your Label
You can preview the text or format of your
label prior to printing. A multiple-line label is
previewed as a single-line label.
To preview your label
1. Press Extra.
2. Use the Down arrow key to select Print
Preview and press OK.
3. Use the arrow keys to select Text or Format.
If you select Text, the text of the label scrolls
across the display. If you select Format, the
format selected displays briefly.
09:02
Pagina 9
Aligning the Text
When you print a fixed length label you can
choose to align the text at the left, center, or
right side of the label. For multi-line labels, all
lines of text are aligned left, center, or right
relative to each other.
To align the text
1. Press Shift-Box/Align.
2. Use the arrow keys to select the desired
alignment and press OK.
3. Press Clear to turn off the alignment setting.
Changing the Cutting Option
You can choose to have each label automatically
cut after printing or you can manually cut the
labels using the Cutter button. By default,
labels are cut automatically. When manual
cutting is selected and you print multiple
copies or serialized labels, a dotted cut-line is
printed between each label.
To change the cutting option
1. Press Settings.
2. Use the arrow keys to select Set Auto Cut
and press OK.
3. Use the arrow keys to select Auto Cut On or
Off, and then press OK.
This setting will remain until you change it.
Adjusting the Print Contrast
You can adjust the print contrast to fine tune
the print quality of your label.
To set the contrast
1. Press Settings.
2. Use the arrow keys to select Set Contrast
and press OK.
3. Use the arrow keys to select one of the five
contrast settings and press OK.
9
