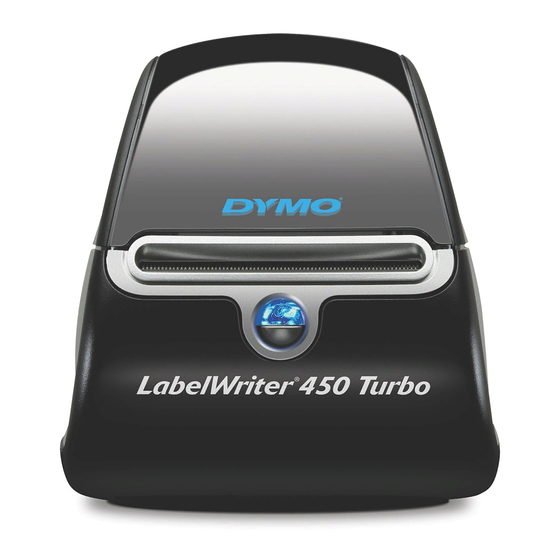
Dymo LabelWriter 400 Duo Guide Setup Manual - Page 9
Browse online or download pdf Setup Manual for Label Maker Dymo LabelWriter 400 Duo Guide. Dymo LabelWriter 400 Duo Guide 11 pages. Desktop/pc connected labelmaker
Also for Dymo LabelWriter 400 Duo Guide: Instructions For Use Manual (13 pages), Setting Up (8 pages), Brochure (2 pages), Quick Reference Manual (8 pages), Brochure & Specs (2 pages), Contents And Installation (4 pages)

- 1. Setting up a Dymo Labelwriter
- 2. To Install the DYMO Label Software on the Terminal Server
- 3. To Install and Test the DYMO Printer on the Local Workstation
- 4. To Allow Your Local USB Port to be Available During a Terminal Server Session
- 5. To Test the DYMO Printer through a Terminal Server Session
Setting Up a DYMO LabelWriter 400, 450, or 450 Turbo Printer with Terminal Services
Ensure that the DYMO LabelWriter 400, 450, or 450 Turbo printer is set as
5.
your default label printer through the TS### port.
Click OK to save your settings.
6.
Open a patient's record in the Patient Demographics window.
7.
Click Label to print a mailing or file folder label on your DYMO LabelWriter
8.
400, 450, or 450 Turbo printer.
If the job does not print, you may need to change the following:
NOTE
DYMO LabelWriter software version. If you are using v7.8,
•
try upgrading to v8.x, and if you are using v8.x, try using
v7.8.
Printer driver. The DYMO LabelWriter driver must be
•
installed on the local work station and on the terminal
server. The DYMO printer will not function if a generic
driver is installed.
Setting Up a DYMO LabelWriter 400, 450, or 450 Turbo Printer with Terminal Services
9
