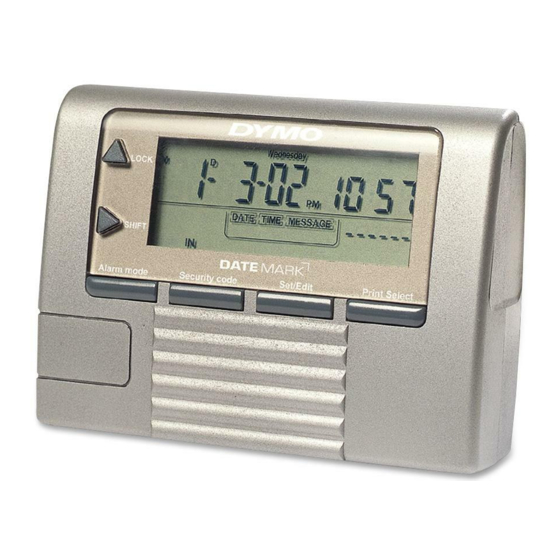
Dymo Electronic Date/Time Stamper User Manual - Page 3
Browse online or download pdf User Manual for Printer Dymo Electronic Date/Time Stamper. Dymo Electronic Date/Time Stamper 8 pages. Dymo electronic date/time stamper user's guide

Getting Started
1. Open the
battery compartment
as shown.
(figure 2)
figure 2
2. To activate printing
functions, insert
4 AA batteries.
(figure 3)
3. To activate the
LCD display, open
the lithium cell
battery door by
using a small coin
(see figure 3) and
discard the red safety ribbon.
Make sure the battery's positive
(+) sign is facing up and close the
battery door using a small coin and
twisting it in a clockwise direction. If
the LCD is flashing P-RESET, use a
ballpoint pen to reset the unit (figure 4).
6
OPEN
3.0 VOLT
figure 3
MADE IN
CHINA
"AA" UM-3 1.5V
shuttle to return to
position.
4. The unit is now ready for use.
If the unit does not reset, verify that the print belt
shuttle(bottom of unit) is not jammed and slides
freely across belt (use ball point pen). Repeat
steps 1-4 above.
Low Cell Battery Detection
Your DYMO Electronic Date/Time Stamper
automatically checks itself every hour to detect a low
display battery (3-volt Lithium battery). If display
battery level is low BATT will turn on in the LCD.
IMPORTANT! If the BATT indicator appears,
replace the 3-volt lithium cell battery
immediately.
DO NOT OPERATE UNIT ON LOW BATTERY
FOR PROLONGED PERIODS, THIS MAY
CAUSE DAMAGE TO YOUR UNIT.
the start
15
