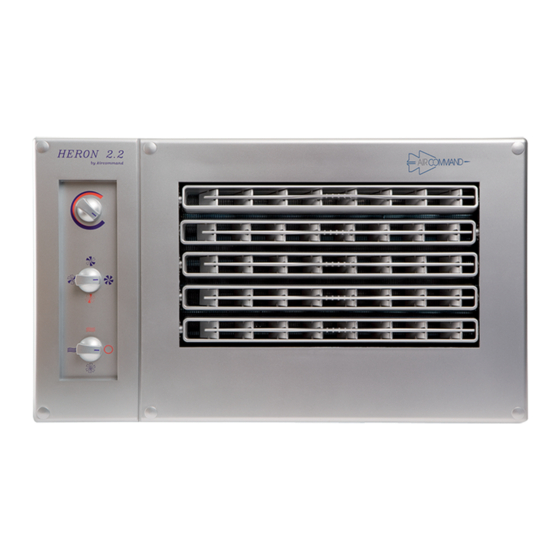
Aircommand HERON 2.2 Installation Instructions Manual - Page 6
Browse online or download pdf Installation Instructions Manual for Air Conditioner Aircommand HERON 2.2. Aircommand HERON 2.2 10 pages.
Also for Aircommand HERON 2.2: Owner's Manual (17 pages)

CHARGING THE SYSTEM
The system is charged with R22 in Austrualia / New Zealand or R407C in Europe, which is a
prescribed refrigerant gas. Most states / countries will require the installer to have an appropriate
license.
The condenser set is factory precharged, but the Air handler and connecting pipework needs to be purged or
evacuated of noncondensibles.
Please note: In Australia, state/country laws re the handling of prescribed refrigerants may prohibit the
purging method. Such laws take precedence.
Method 1: (purging)
• Make sure both connections are tight at the A/H.
• Tighten firmly both flare nuts at the Con/set.
• Then ease off the 3/8 nut one turn at the Con/set.
• Remove both valve stem caps. (See fig.13)
• With a 5mm allen key, insert into the stem of the 1/4 valve
and undo an 1/8 of a turn.
• Gas will be heard to be purging through the eased off
3/8 flare nut.
• Allow to purge for 6 seconds, and tighten up the 3/8 flare nut.
• Now wind out both the 1/4 & 3/8 valve stems with the allen
key until fully backseated.
• Put on the valve stem caps and tighten them up.
• Now check for leaks: See paragraph following on leak testing.
Method 2:
• Use a vacuum pump to remove noncondensibles from A/H & pipework.
• Tighten all flare nut connections on both the Con/set and the A/H.
• Remove schrader valve caps and connect vac. pump hoses, preferably to both valves (make sure
valve depressors are set ok).
• If both hoses are fitted, then evacuate for 10 minutes.
• If only one, then evacuate for 15 mins.
• Check that the pump maintains a high vacuum.
• Remove both stem caps, then isolate the vac. pump, before turning on both valve stems. Fully
backseat both, and refit caps.
• Now check for leaks.
LEAK TESTING
It is of the utmost importance that a leak check is made on the 4 flare nut connections. A leak,
however small, will result in the aircon system losing capacity and endanger the compressor.
1. Use either soapy water, or a proprietary leak test solution.
Paint on each flare nut (particularly the neck) and inspect carefully for any telltale bubbles. Use a torch
to improve visibility, particularly in the A/H area.
Any leak will generally be remedied by further tightening of the flare nut. In the event of a faulty flare,
the line valves must be turned off, the A/H pumped out, and the flare remade.
2. Use an ELECTRONIC leak detector.
Test initially on low sensitivity, examining in particular the neck of each flare nut. Increase the
sensitivity until you are confident that no leak exists.
Schrader valve
Valve stem cap
6
LINE VALVE
Valve stem
Refrigerant pipe
Use 5 mm allen key
to open valve (fully backseat)
Figure 13
