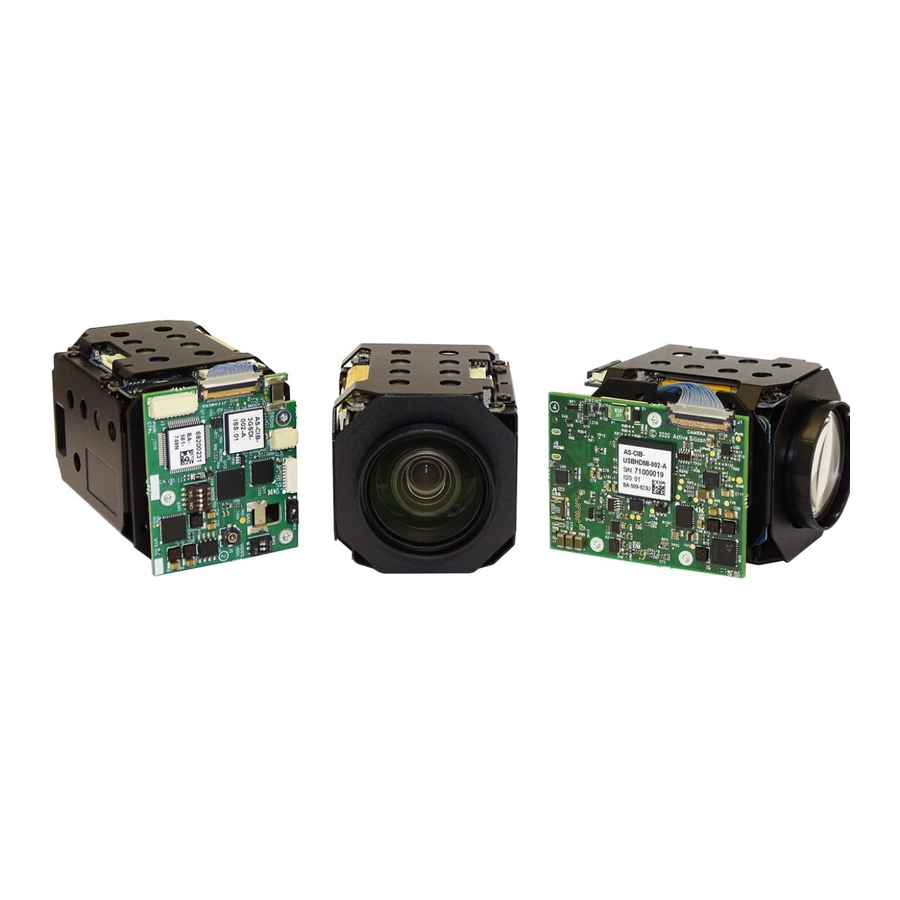
Active Silicon HARRIER Quick Start Manual - Page 3
Browse online or download pdf Quick Start Manual for Recording Equipment Active Silicon HARRIER. Active Silicon HARRIER 15 pages. Usb/hdmi camera interface board

Configuring the Board for the Camera
The Harrier USB/HDMI Camera Interface Board is configured by default for the Tamron MP1110M
camera, if you are using any other camera, the Harrier USB/HDMI Camera Interface Board needs to
be re-configured to support the specific USB related properties of the camera. If you have
purchased a pre-assembled camera unit then the board will already be correctly configured for the
camera.
When the interface board is connected by a USB3 cable the name of the camera will appear in the
camera section of Windows Device Manager (or in most UVC video applications). Depending on
how it is configured it will appear with a different name, for example:
Active Silicon Harrier T1110-2 - for Tamron MP1110M-VC/-WP camera
Active Silicon Harrier T2030-2 - for Tamron MP2030M-GS camera
Active Silicon Harrier S7520A-2 - for Sony FCB-EV7520A camera
Active Silicon Harrier 10LHD-2 - for Harrier 10x AF-Zoom Camera
Active Silicon Harrier 36LGHD-2 - for Harrier 36x AF-Zoom Camera with global shutter.
To change the configuration of your Harrier USB/HDMI Camera Interface Board please go to the
software section of
www.ActiveSilicon.com
Instructions for changing the board configuration are included in the download.
Quick Start
You can get the board up and running very quickly with the Evaluation Kit and these items:
•
PC with Superspeed USB port with high current capability (typically Type C socket rated at
1.5 Amp or more) or externally powered USB3 hub (e.g. Startec ST4300MINI).
•
Compatible camera and 30-way KEL cable. Note: the Tamron MP2030M-GS and Harrier 36x
AF Zoom cameras will need a 3Amp rated USB socket or powered hub.
•
UVC software.
For the UVC software we recommend the HarrierView UVC demo application that is part of the
Harrier USB
SDK; this can be downloaded from the Active Silicon web site.
Please follow the procedure below:
1. Connect the camera and interface board socket J1 using the KEL cable. If you have purchased
a pre-assembled camera, the board and camera will already be connected.
2. Set DIP switch SW1 [7] ON, and all others OFF.
3. Connect the interface board to the Superspeed USB port (via the powered hub if the port does
not have the current capability).
4. In Windows Device Manager (or a UVC application) check the name of the camera and if it does
not match your camera please re-configure the board as described in the section above
(Configuring The Board For The
5. If the port/hub can supply enough current, the camera will start up and you can now access the
video using any UVC application, e.g HarrierView from the
March 2021
HARRIER USB/HDMI CAMERA INTERFACE BOARD
and download the
Camera).
QUICK START GUIDE
Version 1.7 – March 2021
HarrierControl
software.
Harrier USB
SDK.
Page 3 of 14
