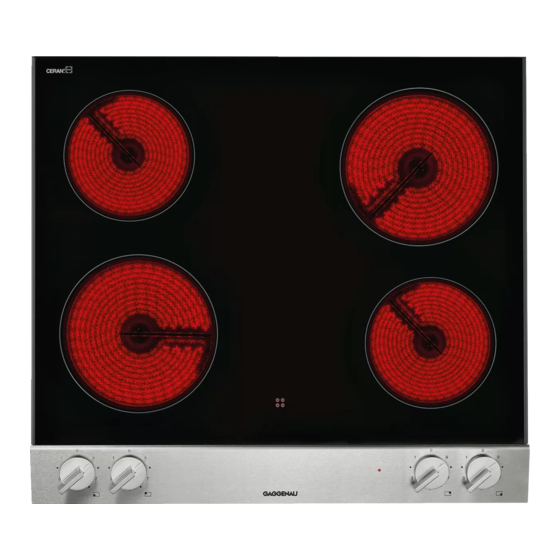
Gaggenau VE 230 934 Installation Instructions - Page 3
Browse online or download pdf Installation Instructions for Cooktop Gaggenau VE 230 934. Gaggenau VE 230 934 4 pages. Glass ceramic cooktop
Also for Gaggenau VE 230 934: Instruction Manual (16 pages)

en
Ú Installation instructions
Important notes
Read these instructions carefully and keep them in a safe place.
Safety during use can only be ensured if the appliance is fitted
correctly according to these installation instructions. The installer
is responsible for ensuring that the appliance operates perfectly at
the point of installation.
The appliance must be connected to the mains only by a licensed
and trained technician.
Before carrying out any type of work, turn off the electricity.
For installation, currently applicable building regulations and the
regulations of the local electricity supplier must be observed.
This appliance corresponds to appliance class 3 (for installation in
a kitchen unit). It must be fitted according to the installation
drawing. Observe the minimum distance to side walls or furniture
parts and to the rear wall.
This appliance is not intended for operation with an external timer
or an external remote control.
Preparing the furniture
The surrounding kitchen unit must be heat-resistant to at least
90 °C. The stability of the unit must be maintained after producing
the cut-out.
Produce the cut-out for one or several Vario appliances. Proceed
as shown in the installation sketch. The angle between the cut
surface and the worktop must be 90°.
After producing the cut-out, remove the shavings. Seal the cut
surfaces to make them heat-resistant.
Observe a minimum clearance between the appliance housing
and parts of the unit of 10 mm.
Protection against accidental contact from below must be
guaranteed after installation. If the underside of the appliance can
be touched after installation, an intermediate shelf must be fitted
that can only be removed using a tool. Observe a minimum
clearance between the appliance and the shelf of 10 mm.
When fitting several Vario appliances: allow for the additional
space required for the connecting strip VV 200. Appliances can
also be fitted in individual recesses, if a minimum clearance of
40 mm between the appliances is observed.
Electrical connection
Check the electrical installation system before connecting the
appliance. Make sure that the household installation has sufficient
fuse or circuit breaker protection. Check that the appliance has the
same voltage and frequency as the electrical installation system
(see rating plate).
The appliance corresponds to protection class I and may only be
operated with a protective earth connection.
The installation system must incorporate an all-pole isolating
switch with a contact gap of at least 3 mm, or the appliance should
be connected to the mains via a safety plug. The plug must remain
accessible after installation.
Recommendation: install a properly earthed socket behind the
appliance, approx. 70 cm above the floor.
Only a qualified electrician who takes the appropriate regulations
into account may connect a socket.
Only connect the appliance with the supplied mains connection
cable.
Do not kink or trap the mains connection cable.
The appliance corresponds to type Y: the mains connection cable
must only be replaced by the after-sales service. Check the cable
type and minimum cross section.
Fitting the appliance
Mark the centre of the recess exactly. Fit the long mounting rail
1.
to the front, the short mounting rail to the rear of the recess. Make
sure the lugs of the mounting rails lie on the worktop. The centre
marking on the mounting rail must be precisely flush with the
centre marking of the recess.
Note: when fitting the appliance in a stone worktop glue on the
mounting rails with a temperature-resistant two-component
adhesive (metall on stone).
For combination with the appliance cover VD 201: secure the
2.
appliance cover on the appliance before installation (refer to the
installation manual of VD 201).
Lower the appliance into the cut-out. The snap-in pins on the
3.
appliance must lie exactly on the catch springs. Firmly press the
appliance into the cut-out. The pins on the appliance must snap
into the catch springs.
Special instructions for installation outdoors
Operate the appliance on a residual current device (RCD) with a
maximum tripping current of 30 mA.
Attach a suitable plug for outdoor use to the mains cable (observe
the respective national regulations).
Connect the appliance to an earthed socket (for protection class I
appliances).
Check the mains cable regularly for signs of damage. Do not use
the appliance if the mains cable is damaged.
The mains cable must be rated at least to H07RN-F-3G1,5.
The appliance must be fitted into a worktop. Prevent moisture from
penetrating.
The appliance must be protected from weather after use and
cooling down (e.g. with a cover).
Removing the appliance
Disconnect the appliance from the power supply. Push out the
appliance from below.
Caution!
Risk of damage! Do not lever out the appliance from above.
