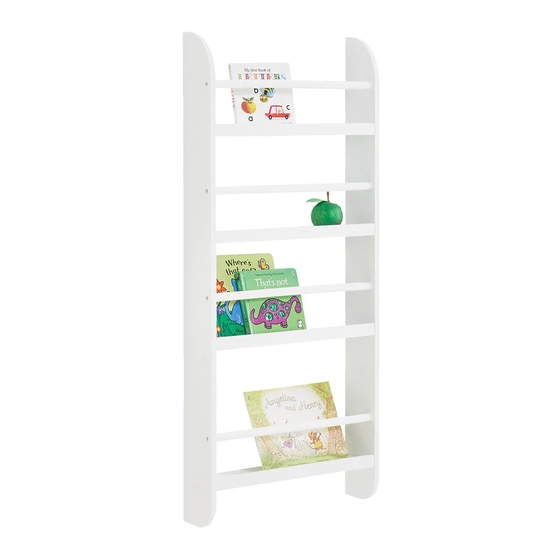
Great Little Trading Greenaway Gallery Mini Bookcase L4953 Quick Start Manual - Page 5
Browse online or download pdf Quick Start Manual for Indoor Furnishing Great Little Trading Greenaway Gallery Mini Bookcase L4953. Great Little Trading Greenaway Gallery Mini Bookcase L4953 10 pages. Greenaway gallery narrow bookcase
ENG
Installation Guide
PLEASE READ BEFORE ASSEMBLING THE BOOKCASE:
Hardware: You must use hardware & wall plugs that are suitable for the wall
where the bookcase is to be mounted. It is not provided.
Ensure you have 4 suitable length countersunk screws/hardware and that the heads of the
screw locate and slide up into the narrow part of the keyhole fixing plates without pulling
out. If they are needed for your wall type, also ensure that you also have the correct size
and type of wall plugs for the screws you are using and that you have the correct sized drill
bit too.
If you are unsure, we recommend seeking professional advice before
proceeding further.
Tools Needed: Spirit level, pencil, tape measure, drill and drill bits to hand. Plus the
hardware suited to the wall you are mounting the bookcase on.
4. Mark the position of the centre of the narrow part of
the fixing slots on the wall. Mark the positions of both
upper and lower keyhole fixing with a pencil.
5. Remove the side panel from the wall and using the tape
B
measure and spirit level, measure 484mm horizontally to
mark the centres for the other two mounting points.
DO NOT DRILL THE WALL YET - Proceed with the
building of the unit.
1. Decide where you to intend to
fit the bookcase.
2. Check the wall for pipes and
cables.
3. Take one of the side panels (either
A or B) and place the panel with the
outside face flat against the wall, whilst
ensuring the narrow part of the keyhole
fixing slot is uppermost. Ensure that the
panel is vertically straight using the spirit
level.
Installation Guide
AFTER ASSEMBLING THE BOOKCASE:
Reminder: You must use hardware & wall plugs that are suitable for the wall
where the bookcase is to be mounted. It is not provided. Please see earlier
guidance on the hardware required.
If you are unsure, we recommend seeking professional advice before proceeding
further.
1. Check the measurements between all the centres of the keyhole fixings on the built
bookcase are the same as those marked on the wall. If there is a slight difference, re-
measure and adjust the wall markings until you are satisfied that these are all correct.
2. Drill the holes in the wall and fit the wall plugs (if using).
3. Add the screws and ensure that the head of the screw is sufficiently proud of the wall
to locate into the keyhole fixing slots.
Hardware shown here are
for illustrative purposes only.
Your hardware may look
slightly different for your wall.
4. Carefully take the bookcase to the 4 screws and once each is located correctly,
move the unit down to secure to the wall. Each screw head may need to be adjusted
in or out slightly to help with each location point.
5. ALL 4 KEYHOLE FIXINGS MUST BE USED TO LOCATE THE
BOOKCASE ON THE WALL.
The bookcase can hold up to 20kgs of books.
5