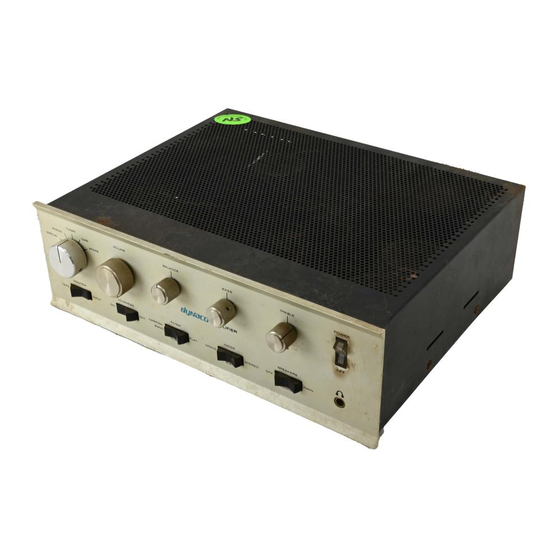
DYNACO SCA-80 Assembly Manual - Page 4
Browse online or download pdf Assembly Manual for Amplifier DYNACO SCA-80. DYNACO SCA-80 15 pages. C9 replacement
Also for DYNACO SCA-80: Manual (12 pages)

3. pencil type soldering iron of 25 to 50 Watts (no huge honking soldering guns or
blowtorches)
4. wire cutters and strippers
5. Magnifying glass, if you're over 42!
Project Overview
The project consists of the following steps:
1. Building the new power supply circuit board.
2. Labeling some wires, desoldering them, and then removing the old power supply
components.
3. Installing the new power supply, testing its outputs, and re-assembling the amp.
By purchasing, using, or assembling this kit, you have agreed to hold AkitikA, LLC
harmless for any injuries you may receive in its assembly and/or use. To prevent injuries:
Wear safety glasses when soldering to prevent eye injuries.
Always unplug the power before working on the amplifier.
Large capacitors hold lots of energy for a long time. Before you put your hands
into the amplifier:
o Pull the AC plug!
o Wait 1 full minute for the capacitors to discharge!
Remove jewelry and rings from your hands and wrists, or anything that might
dangle into the amplifier.
If working in the amplifier, keep one hand in your pocket, especially if you're
near the power supply or power supply wires. This can prevent serious shocks.
Build with a buddy nearby. If you've ignored all the previous advice, they can
dial 911 or get you to the hospital.
About Components
We reserve the right to make design/or component changes at any time without prior
Recommended Solder
The kit must be assembled with 60/40 Rosin Core solder. The recommended diameter is
0.032 inches. Among many such sources of solder, I have used Radio Shack part number
64-009. It contains 8 oz. of solder, which is much more than you'll need to assemble the
kit.
notification.
Page 4 of 15
