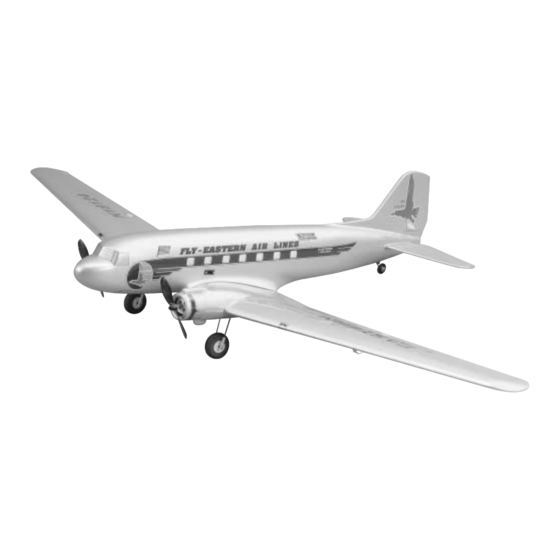
GREAT PLANES Douglas DC-3 Instruction Manual - Page 4
Browse online or download pdf Instruction Manual for Toy GREAT PLANES Douglas DC-3. GREAT PLANES Douglas DC-3 20 pages.

Charge rate/time recommendations:
• Charge a fully discharged 8-cell, 1100 mAh battery pack
at 1 Amp for 1 hour 10 minutes.
• Charge a fully discharged 8-cell, 1800 mAh battery pack
at 1.5 Amps for 1 hour 15 minutes.
Note: The period required to charge the batteries in the example
above is for discharged batteries. If the battery you are going to
charge is not discharged (and you are not using a peak
charger), connect it to the motors on your model. Run them until
the motors stop, thus discharging the battery.
IMPORTANT: Monitor the temperature of the battery
frequently. If the battery becomes warm, disconnect it
from the charger.
CAUTION: Do not attempt to use Deans
the plug that is supplied on the electronic speed control.
They are not compatible and may be damaged if used.
ADDITIONAL ITEMS REQUIRED
Adhesives and Building Supplies
In addition to the equipment listed in the "Decisions You
Must Make" section, following is the "short list" of the most
important items required to assemble the DC-3 EP ARF. We
recommend Great Planes Pro
1/2 oz. Thin Pro CA (GPMR6001)
1/2 oz. Medium Pro CA+ (GPMR6007)
Pro 6-Minute Epoxy (GPMR6045)
Pro 30-Minute Epoxy (GPMR6047)
Hobby Knife (HCAR0105)
#11 Blades (HCAR0211)
Small Phillips and Flat Blade Screwdrivers
Pliers with Wire Cutter (HCAR0630)
Sealing Iron (TOPR2100)
Velcro
®
Hook & Loop Material (GPMQ4480)
Electric Drill and 1/16" [1.6mm] Drill Bit
Rubbing Alcohol (for epoxy clean up)
220-Grit Sandpaper
Pro Threadlocker (GPMR6060)
Optional Items
Here is a list of optional tools mentioned in the manual that
will help you assemble the DC-3 EP ARF.
Great Planes CG Machine
Top Flite
®
Hot Sock
™
Straightedge with scale (HCAR0475)
Ultra Plugs with
®
™
CA and Epoxy glue.
™
(GPMR2400)
iron cover (TOPR2175)
Masking Tape (TOPR8018)
CA Debonder (GPMR6039)
CA Applicator tips (GPMR6033)
Curved-tip canopy scissors for trimming plastic (HCAR0667)
IMPORTANT BUILDING NOTES
• When you see the term test fit in the instructions, it
means that you should first position the part on the
assembly without using any glue, then slightly modify or
custom fit the part as necessary for the best fit.
• Whenever the term glue is written you should rely upon
your experience to decide what type of glue to use. When a
specific type of adhesive works best for that step, the
instructions will make a recommendation.
• Whenever just epoxy is specified you may use either
30-minute (or 45-minute) epoxy or 6-minute epoxy. When
30-minute epoxy is specified it is highly recommended that
you use only 30-minute (or 45-minute) epoxy, because you
will need the working time and/or the additional strength.
• Photos and sketches are placed before the step they
refer to. Frequently you can study photos in following steps
to get another view of the same parts.
• The stabilizer and wing incidences and motor thrust
angles have been factory-built into this model. However,
some technically-minded modelers may wish to check these
measurements anyway. To view this information visit the web
site at www.greatplanes.com and click on "Technical Data."
Due to manufacturing tolerances which will have little or no
effect on the way your model will fly, please expect slight
deviations between your model and the published values.
NOTE: The hardware supplied with this product is
metric; therefore the sizes and measurements in this
manual will be stated as metric sizes.
4
