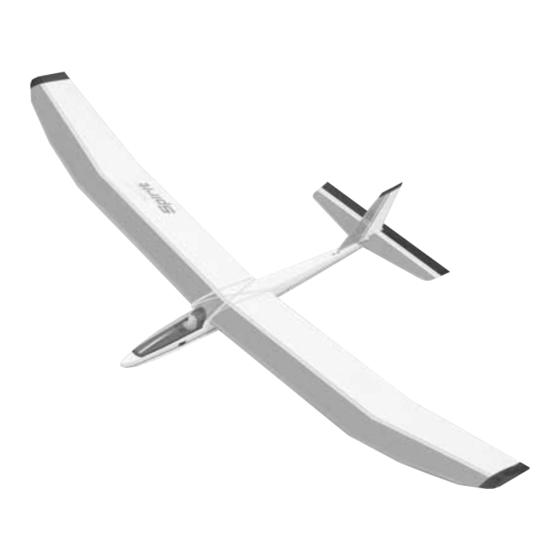
GREAT PLANES Spirit Select Instruction Manual - Page 3
Browse online or download pdf Instruction Manual for Model aircraft GREAT PLANES Spirit Select. GREAT PLANES Spirit Select 8 pages. 2-meter sailplane

General Inspection
Remove the fuselage, wing panels, and stabilizer assembly from
their bags. Inspect all items closely to check for any damage. If any
damage is found, contact the place where your Spirit Select was
purchased, or Hobby Services, to obtain a replacement for your
damaged items.
Your Spirit Select is covered using Top Flite
Eliminate any wrinkles you find in the covering by shrinking them
away with a heat gun. Then, apply pressure to the area with a covering
iron and a hot sock. This will securely bond the covering to the
wood so the wrinkles will be less likely to reappear in the future.
REPLACEMENT PARTS
If needed, replacement parts for your Spirit Select are available
through your hobby supplier.
Wing Kit .......................................................................GPMA2176
Fuselage Kit.................................................................GPMA2177
Tail Set .........................................................................GPMA2178
Canopy Set ..................................................................GPMA2179
ASSEMBLY
❏
1. Check the fit of the wing joiner in the wing panels. Remove any
excess material from the joiner to allow the panels to fit together.
The joiner does not have to be glued into the wing. This will allow
the wing panels to be separated for easier transportation.
MonoKote
covering.
®
®
❏
attachment screws. Attach the stabilizer to the fuselage using two
2mm x 15mm screws, two 2mm nuts and four 2mm washers.
Use thread lock on the nuts to prevent loosening. Note: The fin and
rudder have been removed for clarity in the photo above.
❏
control horn. Trim the opening at the rear of the fuselage as
necessary to allow the pushrod to move freely.
❏
rear hole as it can help achieve a higher launch but be careful as
the sailplane will be more apt to "Pop-Off" the line.
Note: A piece of self-adhesive foam rubber weather stripping can be
applied to the front of the fuselage bottom to help protect it from
getting nicked up during landings.
3
2. Find and open the holes in the stabilizer covering for the
3. Attach the clevis in the second hole from the outside of the
4. For contest flying you may want to move the tow hook to the
