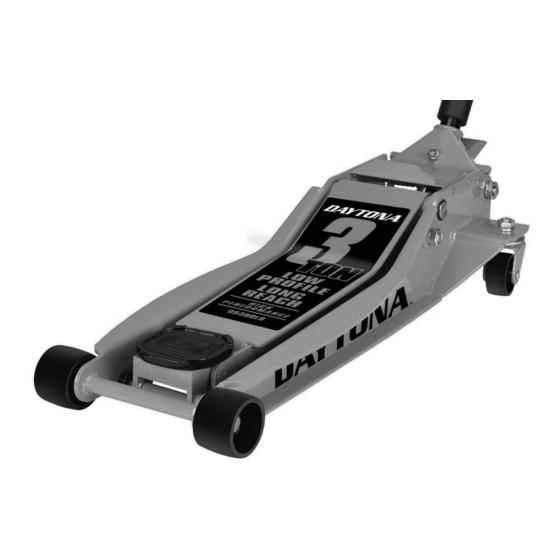
Daytona DS300LRB Owner's Manual & Safety Instructions - Page 8
Browse online or download pdf Owner's Manual & Safety Instructions for Jacks Daytona DS300LRB. Daytona DS300LRB 13 pages. Low profile lohc reach floor jack
Also for Daytona DS300LRB: Owner's Manual & Safety Instructions (13 pages)

Maintenance and Servicing
Procedures not specifically explained in this manual must
be performed only by a qualified technician.
TO PREVENT SERIOUS INJURY FROM TOOL FAILURE: Do not use damaged equipment.
If abnormal noise or vibration occurs, have the problem corrected before further use.
1. BEFORE EACH USE, inspect the general
condition of the tool. Check for:
• leaking hydraulic oil,
• loose hardware or parts,
• misalignment or binding of moving parts,
• cracked, bent or broken parts, and
• any other condition that may
affect its safe operation.
Thoroughly investigate and correct the causes for
all issues that are found. Do not use Jack until all
issues are understood and properly corrected.
ALSO, BEFORE EACH USE, thoroughly test
the Jack for proper operation prior to actual use.
If the Jack's motion seems spongy or the
Saddle does not lift completely, follow
Bleeding instructions on page 6.
2. AFTER USE, wipe dry with a clean cloth. Then,
store the Jack in a safe, dry location out of reach
of children and other non-authorized people.
NOTICE: Storing the Jack in a humid area or
exposing it to corrosive vapor voids the warranty.
3. Weekly - Jack Lubrication:
a. Lubricate according to the below steps using
only general purpose lithium grease.
b. Inject grease into each of the grease fittings.
c. Lubricate the linkages and pivot points lightly.
Note: Improper or inadequate
lubrication voids the warranty.
Page 8
For technical questions, please call 1-888-866-5797.
4. Change the hydraulic oil at least
once every three years:
a. With the Jack fully lowered, remove both Screws
on the end of the Cover Plate that is closer to
the Saddle. Swing the Cover Plate open.
b. Remove the Fill Plug on the top of the Cylinder.
c. Tip the Jack to allow the old hydraulic oil
to drain out of the Housing completely,
and dispose of the old hydraulic oil in
accordance with local regulations.
d. Follow instructions for Adding Oil on page 6.
e. Replace the Fill Plug, close the
Cover Plate, and reinstall the Screws.
f. Follow instructions for
Bleeding Trapped Air on page 6.
Fill Plug
Oil
Piston
Cylinder
Figure C: Fill Level
FILL LEVEL
Item 64781
