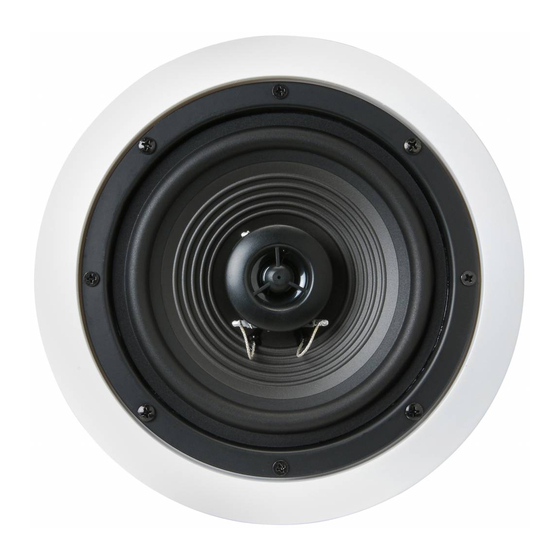
DaytonAudio CS620CT User Manual - Page 2
Browse online or download pdf User Manual for Speakers DaytonAudio CS620CT. DaytonAudio CS620CT 4 pages.

Congratulations on the purchase of your Dayton Audio
These speakers were manufactured with high quality components and engineered to deliver top
quality sound performance.
G
Long-throw polypropylene cone woofers with rubber surround
G
Coaxially mounted 1" Mylar tweeter
G
Optimized crossover
Please read these instructions completely before you begin your installation.
1.
Parts Inventory
Your speaker kit should include the following:
G
1 pair of Dayton Audio Contractor Series Ceiling Speakers with Grills
G
1 speaker installation / paint masking template
2.
Installation Tools
The Dayton Audio speakers can be installed with the following simple tools:
G
Pencil
G
Masking tape
G
Drill & drill bits
G
Utility knife or wallboard saw*
* Recommended for use if installing in plaster walls.
** Optional tools to make the installation easier.
3.
Speaker Location
To achieve the best performance from your Dayton Audio speakers, it is important to carefully
select the location for installation. Your ceiling speakers should be installed 5 to 8 feet apart to
ensure proper stereo imaging. Mount each speaker the same distance from the intersecting
walls to maintain a uniform look. Keep the speakers at least 2 feet away from the corners of
the room to avoid overemphasized bass reproduction.
4.
Speaker Installation
Once you have selected the location for your speakers, you are ready to install them.
CAUTION: Be certain that there are no electrical wires, water pipes, or heating ducts
in the planned installation area before you start drilling or cutting into the ceiling. If
there is an electrical outlet nearby, turn off the circuit breaker to avoid possible injury.
Ceiling speakers are designed to be mounted in the ceiling between the joists or trusses.
Once you have selected the location, check to be sure you are between the joists or truss.
One method is to tap on the ceiling, you will hear a hollow sound when between two joists or
trusses and a sharper, more solid sound when right on top of, or close to a joist or truss.
An easier, more accurate method for finding the location of joists or trusses is to use a
stud finder.
The Contractor Series Ceiling speakers include a two-part template. Remove the center circle
from the template, this is a paint masking template to use if you choose to paint the speaker
frames and grill. The outer ring is used to mark the cut-out for the speakers.
Once you have established that your chosen location is between two joists or trusses, and
that there are no obstructions in the ceiling, tape your speaker template to the ceiling and
lightly trace around the inside edge with a pencil and drill a 1" hole in the center of the
template outline. Next, use a piece of stiff wire (a coat hanger works well), bend it 8" from the
end at a 90 degree angle. Insert the bent part of the coat hanger into the 1" hole and rotate
the wire in a complete circle to check for obstructions. If the wire hits a stud on either side,
reposition your template to the left or right and mark the outline again. Keep the pilot hole
within the template outline.
If the ceiling is made of drywall, simply cut the marked area with your utility knife or drywall
saw. If the ceiling is made of plaster, you should use a saw with a higher tooth count to
reduce the chance of breaking the plaster. Test fit the speaker in the hole, the speaker should
fit loosely and the speaker frame should cover the edges of the hole. Repeat these steps for
the other speaker.
®
Contractor Series Ceiling Speakers.
G
#2 Phillips screwdriver
G
Wire cutters & wire stripper/crimp tool
G
Stud finder**
