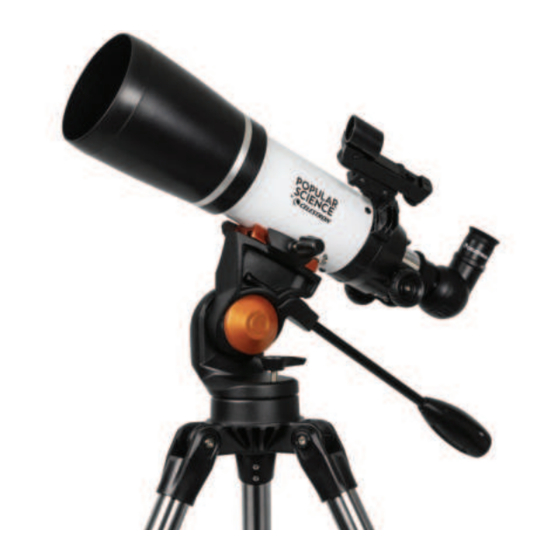
Celestron 80AZS Instruction Manual - Page 6
Browse online or download pdf Instruction Manual for Telescope Celestron 80AZS. Celestron 80AZS 16 pages.
Also for Celestron 80AZS: Quick Setup Manual (4 pages)

CHANGING THE FINDERSCOPE BATTERY
To replace the StarPointer battery, remove the finder from
the scope and turn it over. The battery compartment is
located directly under the large lens assembly. Using a
small screwdriver or your fingernail, gently lift straight up
on the cover to remove it. The battery is held in place by a
spring contact. Gently lift this contact and turn the finder
on its side. The battery should slip right out. Replace the
battery with a 3-Volt CR2032 button cell battery. Slide
the new battery under the contact, making sure that the
positive terminal of the battery (the side marked with a "+")
is pointing upward, toward the spring contact. The battery
should snap in place. Replace the cover by lining up the
pins on the cover with the holes in the finderscope and
pressing it down. Be sure to dispose of the old battery
according to your local laws.
ALIGNING THE
FINDERSCOPE
The finder is one of the most important parts of your telescope. It helps you
locate objects and center them in the eyepiece. The first time you assemble
your telescope, you need to align the finder to the telescope's main optics.
It's best to do this during the day*.
* SOLAR WARNING!
solar filter!
1
CHOOSE A TARGET
Take the telescope outside during the day and find an
easily recognizable object, like a streetlight, license
plate or sign. The object should be as far away as
possible, but at least a quarter mile away.
4
ADJUST THE FINDERSCOPE
Without moving the telescope, use the two
adjustment knobs to move the finder around until
the red dot appears over the same object you are
observing in the telescope's 25 mm eyepiece.
6
Never attempt to view the Sun through any telescope without a proper
2
Focus Knobs
CENTER THE TARGET
IN THE EYEPIECE
telescope using your lower powered eyepiece. Move
the telescope until the object you chose lies in the
center of the view. If the image is blurry, gently turn
the focus knobs until it comes into sharp focus.
5
YOUR FINDERSCOPE IS
NOW ALIGNED!
It should not require realignment unless it is bumped
or dropped.
Battery
Compartment
3
Low Power Eyepiece
LOOK THROUGH
Look through the
FINDERSCOPE
Once the object is centered in your 25 mm eyepiece,
look through the finderscope and locate the red dot.
