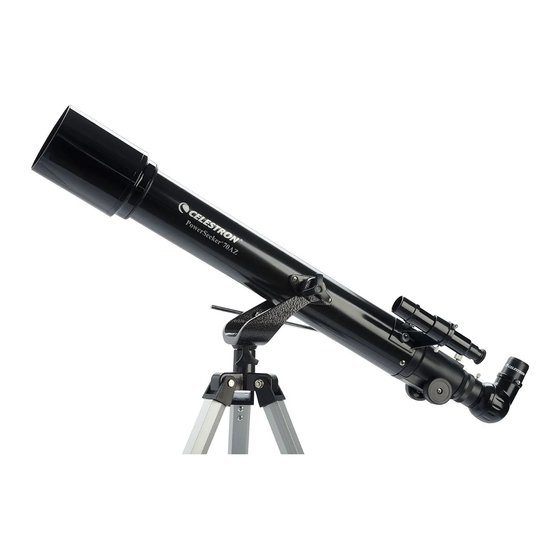
Celestron C102-AZ Instruction Manual - Page 9
Browse online or download pdf Instruction Manual for Telescope Celestron C102-AZ. Celestron C102-AZ 15 pages. Refracting telescopes
Also for Celestron C102-AZ: Instruction Manual (14 pages)

- 1. Y O U R T E L E S C O P E
- 2. Adjusting the Tripod Height
- 3. Attaching the Telescope to the Mount
- 4. The Eyepieces
- 5. Aligning the Finder
- 6. Calculating Magnification
- 7. Your First Look
- 8. Daytime Observing
- 9. Observing Deep-Sky Objects
- 10. Maintenance
- 11. Care and Cleaning of the Optics
- 12. Storing Your Telescope
- 13. Technical Specifications
- 14. Optional Accessories
Calculating
Magnification
Your First Look
3. Adjust the screws on the finder bracket, tightening one while loosening
another, until the crosshairs are centered on the target seen through the
telescope.
Image orientation through the finder is inverted (i.e., upside down and reversed
from left-to-right). This is normal for any finderscope that is used straight-
through. Because of this, it may take a few minutes to familiarize yourself with
the directional change each screw has on the finderscope.
You can change the power of your Celestron telescope just by changing the
eyepiece (ocular). To determine the actual magnification with any given
eyepiece, simply divide the focal length of the telescope by the focal length of
the eyepiece. In equation format, the formula looks like this:
Magnification =
Let's take an example (using the 80mm AZ) to see how this formula works.
Let's say you're observing with a 25mm eyepiece. To determine the magnifica-
tion, you would simply divide the focal length of the telescope (910mm) by the
focal length of the eyepiece. Since we are using a 25mm eyepiece for our
example, you would divide 910 by 25. This yields a magnification of 36 power.
Although the power is variable, each instrument has a limit to the highest
useful magnification. The general rule is that 60 power can be used for every
inch of aperture. For example, the Firstscope 80 AZ is 3.14" (80mm) in
diameter. Multiplying 3.14" by 60 gives a maximum useful magnification of 188
power. Although this is the maximum useful magnification, most observing is
done in the range of 10 to 30 power for every inch of aperture which is about 30
to 100 power for the Firstscope 80 AZ.
Higher powers (more than 60x the diameter) can be used for looking at super
enlarged images of the planets and the moon, but the images will be dark with
little contrast, and somewhat fuzzy.
With the telescope fully assembled and all the accessories attached, you are
ready for your first look. Your first look should be done in the daytime when it
will be easier to locate the locking clamps and adjustment knobs. This will
help to familiarize you with your telescope, thus making it easier to use at
night.
Daytime Observing
1. Find a distant object that is fairly bright.
2. Insert the standard eyepiece into the diagonal.
3. Locate the object in the finderscope.
4. Use the slow motion knobs to center the object in the field of the finder.
5. Look through the main optics and the object will be there (if you aligned
the finder first).
Focal Length of Telescope (mm)
Focal Length of Eyepiece (mm)
9
