Gainsborough Trilock Contemporary Series Installation Instructions Manual - Page 2
Browse online or download pdf Installation Instructions Manual for Door locks Gainsborough Trilock Contemporary Series. Gainsborough Trilock Contemporary Series 6 pages. Double & single cylinder
Installation Instructions for Trilock Traditional & Contemporary Series
Step 5
To re-hand levers & set lever operation (if required).
NOTE: These steps are applicable to leverset only.
Step 7
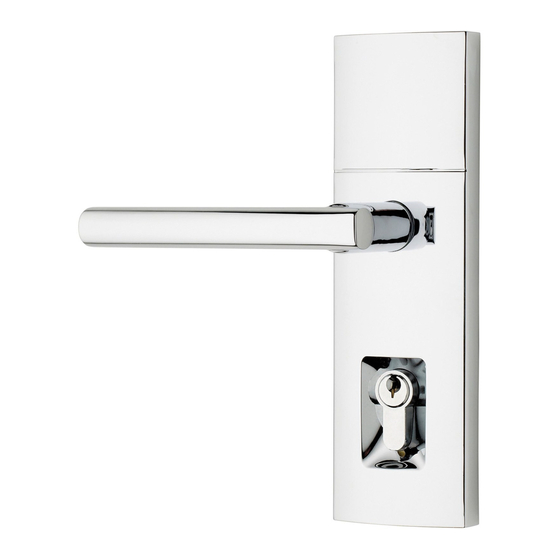
• Mount external furniture plate to the outside of door.
• Insert spring, spindle and snib rotor to external
furniture plate from inside of door.
• Now mount the internal furniture plate to the inside
of door.
• Fit mounting screws from inside & tighten into
threaded posts.
NOTE: Test all functions for smooth operartion.
Step 8 (single cylinder only)
• For single cylinder applications install internal
turnbutton now by tightening grub-screw onto
protruding shaft.
• Grub-screw should be fastened up onto
flat side of shaft.
grub-screw
allen key
NOTE: • carefully follow these instructions when installing.
• do not overtighten screws.
• use of power driver is not recommended.
• fully remove the Trilock prior to painting the door
to avoid harming the product's finish.
T890PKD02UM1
JUL '13
– Double & Single Cylinder
These instructions apply to both Lever and Knob versions
• Hold Trilock furniture plate
up to door to check lever
orientation (this will need
to be done on both levers).
• To re-hand lever, if
required, insert flat blade
screwdriver under
handing-plate and twist to
push main gear away from
handing plate
.
• Rotate lever 180˚ toward
top of faceplate, as shown,
until it clicks into place.
Step 6
Trilock Traditional
• Install blind screws and brass posts
to Trilock external furniture plate (this
is the furniture plate without the
rectangular snib push-button).
Step 9
All door seals must be fitted prior to fitting
strike plate.
• Position the door so that the centrepoint of the
strike plate can be marked on door frame.
reinforced
strike plate
door
frame
anti-rattle tab
Trilock Contemporary
• Install posts to Trilock external
furniture plate (this is the furniture
plate without the rectangular snib
push-button).
Note: Position Snib Rotor so one notch faces up
& the other notch points to the door edge.
• Mark and drill a 25mm (1") hole to a depth of 25mm
(1"), at a corresponding height to the bolt.
• Mark and chisel recesses for strike plate and optional
reinforced strike plate.
• Screw into position using 4 wood screws as supplied.
Note: 2 larger screws should be used on reinforced
strike plate as illustrated.
Door Adjustment
1 When door is closed using finger pressure, ensure
bolt is latching into strike plate.
2 If door is rattling when in latched position. Open door,
remove strike plate & adjust anti-rattle tab & refit strike
plate to door frame. Repeat check 1.