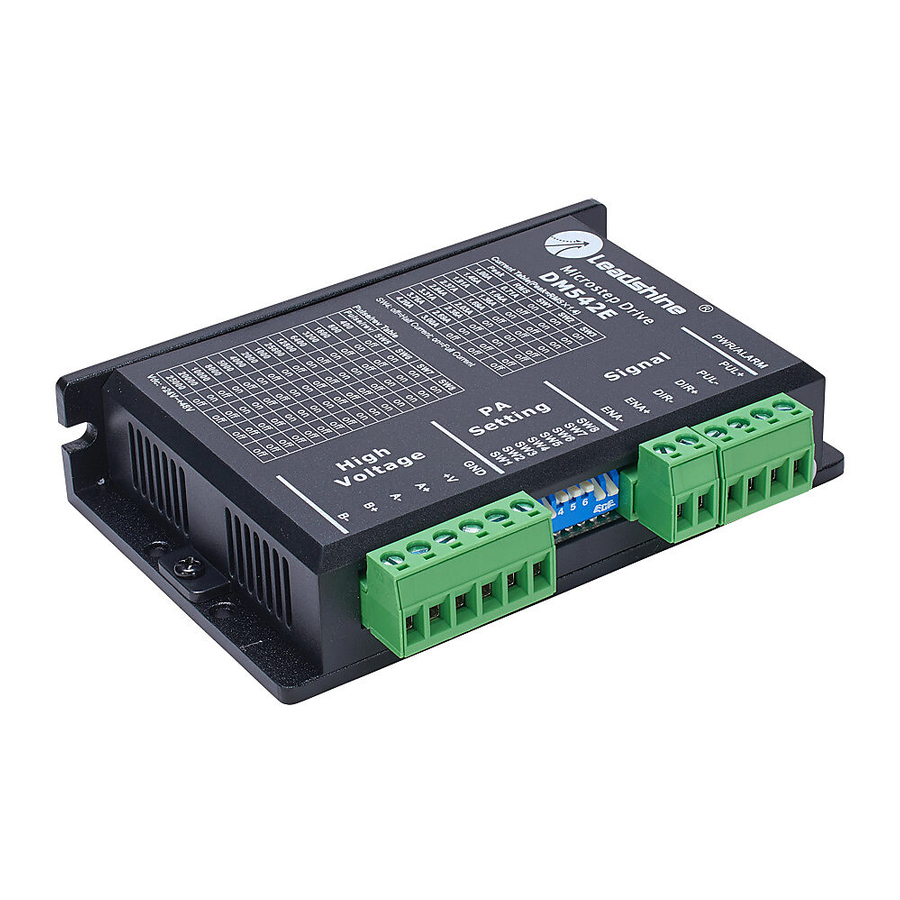
AutomationDirect Leadshine EM556S Quick Start Manual - Page 3
Browse online or download pdf Quick Start Manual for DC Drives AutomationDirect Leadshine EM556S. AutomationDirect Leadshine EM556S 17 pages. Stepper drives

Leadshine Stepper Drives Overview
Leadshine stepper drives are compact, simple drives designed to work with a wide range of NEMA
stepper motors.
Many stepper motors come with only 4 leads. They are easily wired to the drive terminals A+, A-, B+,
and B-. Some stepper motors come with 6 or 8 wires coming from the motor. These motors' windings
can be wired in series or parallel - please see the applicable stepper drive user manual for more detail
on how to wire a 6 or 8 lead stepper motor (and the benefits of each configuration).
Stepper drives can typically be supplied with a range of DC voltage (some can even accept AC input).
Higher DC supply voltages translate into higher available torque at higher speeds, but higher supply
voltage causes motors to run hotter. When selecting a power supply, choose the one with the lowest
voltage that will satisfy your application. For more information, please see the drive's user manual.
Regulated and unregulated power supplies can supply stepper drives. Regulated (switching) power
supplies are generally less expensive and smaller than linear power supplies, but they are sometimes
susceptible to regen. If using a switching power supply, choose a supply above the expected capacity.
Linear power supplies are better at handling motor regeneration, but care must be taken to ensure
that the no-load voltage of a linear power supply does not float above the upper voltage limit of the
stepper drive.
WARNING: D
WARNING: R
WARNING: D
WIRes fRom the poWeR supply to eAch oNe
WARNING: I
loAD thAt bAckDRIves the motoR
Getting Started
To set up your Leadshine Stepper Drive, make sure you have the following at hand:
• Stepper drive
• Stepper motor
• Power supply
• Small flathead screwdriver
• Wire strippers
Basic Steps to Set up Your Drive
To connect and configure your stepper drive, follow the steps below.
1) Set the DIP switches on the drive to the desired motor and configuration for your application.
2) Connect the drive to the motor.
3) Connect the drive to the power supply.
4) Power on the system.
5) Test the motor's speed and direction before connecting the shaft to a load.
Please refer to the drive specific section for details relevant to your drive, such as switch settings and
wiring configuration.
Leadshine Stepper Drives Quick Start Guide – First Edition – 11/04/2019
/
o Not pluG
uNpluG motoR coNNectIoNs WIth poWeR ApplIeD to the DRIve
uN sIGNAl WIRING sepARAtely fRom motoR poWeR WIRING
o Not DAIsy chAIN WIRING fRom the poWeR supply to DRIve to DRIve
f youR ApplIcAtIoN coulD hAve ReGeNeRAtIoN
)
you shoulD INstAll A ReGeN clAmp
Leadshine Stepper Drives Quick Start Guide
.
(
fAst DeceleRAtIoN
.
.
. R
uN sepARAte
,
oR AN oveRhAulING
(p/N stp-DRvA-Rc-050A).
Page 3 of 17
