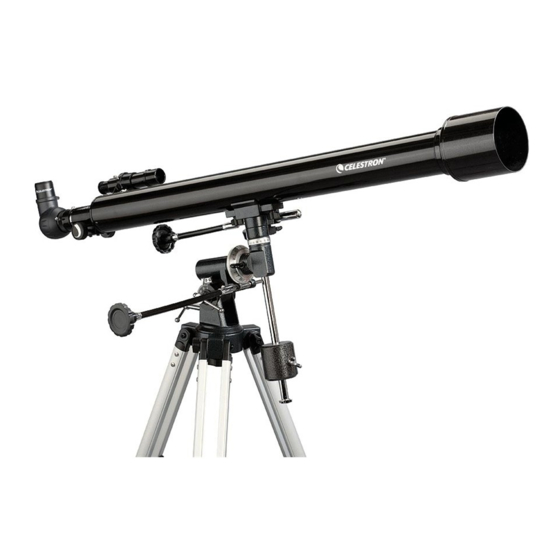
Celestron PowerSeeker 70EQ Quick Setup Manual - Page 2
Browse online or download pdf Quick Setup Manual for Telescope Celestron PowerSeeker 70EQ. Celestron PowerSeeker 70EQ 20 pages.

10
10
Locate the counterweight bar and counterweight. Slide the
counterweight half way down the counterweight bar.
13 13
The cable should attach to the Right Ascension axis and the other
cable attaches to the Declination axis. Tighten the screw to secure
the cable in place.
16 16
Place the telescope tube back into the tube rings and secure the
latch knobs to hold it in place. The front of the tube should be
positioned over the counterweight assembly.
19
19
Loosen the screws on the focuser so they do not obstruct the
inner diameter of the focuser. Remove the plastic cap covering
the end of the focuser. Insert diagonal into the focuser and
tighten the set screw.
22 22
For additional magnification, you can use the included 3x Barlow
lens. Place the Barlow lens in the focuser in place of the eyepiece.
Remove the cap from the Barlow lens.
2 | E NG LISH
11 11
Holding the counterweight in one hand, line up the counterweight
bar with the mount. With your other hand, turn the counterweight
bar until it is fully seated. Tighten the counterweight locking screw
to hold the counterweight in place.
14 14
Remove the tube rings from the telescope tube by loosening the
latch knobs on the sides of each ring. Then remove the two knobs
on the bottom of each tube ring.
17 17
Remove the knurled nuts on the threaded posts at the focuser end
of the telescope tube.
20 20
Remove cap and insert the 20mm eyepiece into the diagonal and
tighten the set screw.
23 23
Next, insert the eyepiece into the Barlow and tighten the set
screws to secure it in place.
12 12
HOLD
Slide the chrome end of the slow motion control cables onto
equatorial mount gear shaft. Be sure to line up the set screw over
the flat spot on the shaft. Tighten screw to secure in place.
15 15
Insert the tube rings into the holes on the top of the mount and
secure them using the knobs you removed from the bottom of
each ring.
18 18
Locate the finderscope and remove plastic caps on front and back of
lens. Orient the finderscope so that the larger lens is facing towards
the front of the tube as shown here. Place finderscope over the
holes on the tube and tighten it down with the knurled nuts.
21
21
Remove the lens cap from the front of the telescope. To observe,
look through the eyepiece as shown above. Focus the image by
turning the knobs below the focuser.
For more information on this product or to download
the instruction manual, please visit the respective
product page on celestron.com
SOLAR WARNING: Never attempt to view the Sun
through any telescope without a proper solar filter.
NEED ASSISTANCE?
Contact Celestron Technical Support
celestron.com/pages/technical-support
02-21
