AutomationDirect CLICK C0-08TR-3 Manual - Page 2
Browse online or download pdf Manual for Control Unit AutomationDirect CLICK C0-08TR-3. AutomationDirect CLICK C0-08TR-3 3 pages. Expansion i/o module

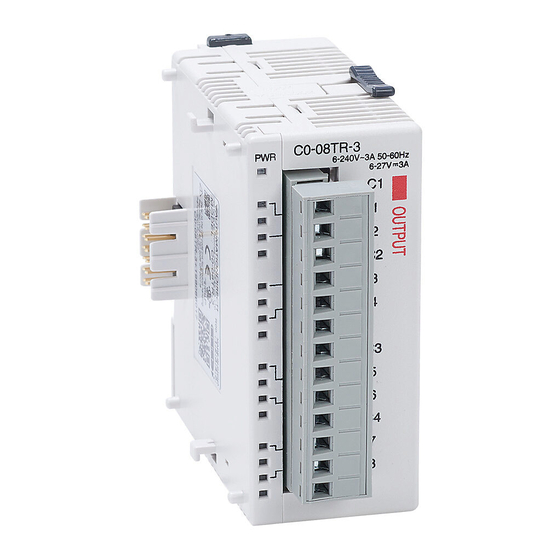
C0-08TR-3 CLICK Expansion I/O Module
Installation and Mounting
1. Safety Installation, Wiring or Handling
• Discharge static electricity before installation or wir-
ing in order to avoid electric equipment damage.
2. Preface
• CLICK C0-08TR-3 is supported by CLICK Programming software Ver 2.60
or higher.
3. Compliant Crimp-type terminal
• I/O terminals
4. The following crimping ferrules are recommended for 24VDC
terminal and I/O terminals of CPU and Expansion I/O.
Company
Series
Zoller+Fröhlich
Twin Ferrules
* Rated torque is 0.5 N·m. Take care not to contact adjacent terminal.
5. Safety Standard
• To comply with safety standards, please observe and use the following:
Please use SELV (as defined by UL61010-2-201) and Limited Energy (as
defined by UL61010-1, 9.4)
Please ensure basic insulation is provided between each relay block.
In order to comply with IEC/UL 61010-2-201 if the output is connected
to a circuit lower than 30V, please provide an external isolation before
the relay output terminals. Basic isolation requires an air separation of at
least 1.5 mm, a creepage distance of at least 2.5 mm, and a withstand
voltage of 1500V rms.
Installing Expansion I/O Modules:
• Remove protective cover over buss port.
• Push the LOCK slide (top and bottom of modules) to "UNLOCK".
• Align module pins and tabs (attachment of modules) into adjacent
slots and firmly push together.
• Push the LOCK slides to "LOCK" to lock modules rigidly together.
Modules easily connect to each other.
3
2
1
OPEN
To remove an I/O module, first disconnect all phases of external
power source and wait
5 seconds
expansion I/O module of a functioning system.
Then push LOCK slides to "UNLOCK" and gently separate modules.
Copyright© 2020, Automationdirect.com Incorporated/All Rights Reserved Worldwide
www.automationdirect.com/click-plc
Model No.
Compliant Wire
* 0.5 mm
2
V30AE001134
(20 AWG)
Locking Tabs (Top and Bottom)
CLOSED
before installing or removing the
Additional Help and Support
• For additional technical support and questions, call our
Technical Support team @ 1-800-633-0405 or 770-844-4200
Safety Installation
Please heed the following instructions when
installing:
• Mount the CLICK PLC unit horizontally to provide
proper ventilation.
• Do not mount the CLICK PLC unit upside down, on
a horizontal surface, or in a vertical arrangement.
• There is a minimum clearance requirement of 2in.
(51mm) from all sides of the cabinet and the equipment.
• There is a minimum clearance requirement of 3in.
(76mm) from the wiring ducts and the equipment.
• Please use this product in a metal enclosure/cabinet.
Air
Flow
Enclosures
It is important to select the appropriate enclosure to ensure safe and proper oper-
ation of your CLICK PLC system. Control applications vary and yours may require
additional considerations. At a minimum your enclosure should include:
• Conformance to electrical standards
• Protection from the elements in an industrial environment
• Common ground reference
• Maintenance of specified ambient temperature
• Access to equipment
• Security or restricted access
• Sufficient space for proper installation and maintenance of equipment
• When installing modules and CPU on DIN rails, always
use end brackets on both ends of assembly.
• You should use 35mm width DIN Rails.
• You should use M4 size screws when you surface mount.
• You should tighten the screws with a spring washer and
a small round washer and torque (0.5 to 0.6 N·m).
Do not operate without first installing safety cover over power supply
CLK-2
CLICK Module Insert
3505 HUTCHINSON ROAD
CUMMING, GA 30040-5860
Minimum clearance requirement
51mm
of 51mm for A, B, and C.
CAUTION
CAUTION
leads.
1-800-633-0405
