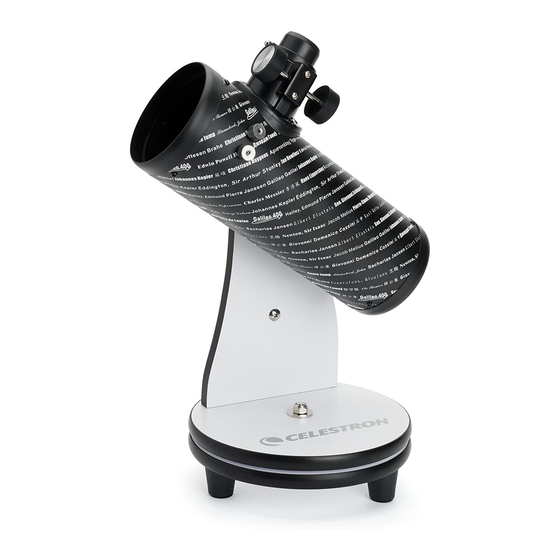
Celestron FirstScope 21024 Instruction Manual - Page 5
Browse online or download pdf Instruction Manual for Microscope Celestron FirstScope 21024. Celestron FirstScope 21024 16 pages. Firstscope

Your telescope requires virtually no assembly. The telescope with its optical tube and mount are preassembled and
almost ready to use when taken out of the carton.
Two eyepieces are included – 20mm (15 power) and a 4mm (75 power). Insert an eyepiece and you are ready to use
the telescope. However, before beginning you should understand the functions and criteria of using a telescope in
the following sections.
I
n
s
t
a
l
l
i
n
g
t
h
e
E
I
n
s
t
a
l
l
i
n
g
t
h
e
E
The eyepiece (or ocular) is an optical element that magnifies the image focused by
the telescope. Without the eyepiece it would be impossible to use the telescope
visually. Eyepieces are commonly referred to by focal length and barrel diameter.
The longer focal length (i.e., the larger the number) the lower the eyepiece
magnification (i.e., power). Generally, you will use low-to-moderate power when
viewing. For more information on how to determine power, see the section on
"Calculating Magnification". The eyepiece fits directly into the focuser. To attach
the eyepieces:
1. Make sure the thumbscrews are not protruding into the focuser tube. Then,
insert the chrome barrel of the eyepieces into the focus tube (remove the plug up
cap of the focuser first) and tighten the thumbscrews – see Figure 2-1.
2. The eyepieces can be changed by reversing the procedure as described above.
3. Locate objects with the low power eyepiece (15x) and then you can change to
high power (75x) to see more detail.
P
o
i
n
t
i
n
g
t
h
e
T
e
P
o
i
n
t
i
n
g
t
h
e
T
e
The telescope is designed to be used on a table or other sturdy surface. The FirstScope is easy to move wherever
you want to point it.
Loosen the Lock Nut by turning it counterclockwise and hold the Tube
End.
Sight along the Optical Tube towards the object you want to find.
Move the Tube End until you find the object you are searching for.
Tighten the Lock Nut.
Note:
You can leave the Lock Nut slightly loose and it will make it easy to
make slight changes in any direction by moving the Tube End.
y
e
p
i
e
c
e
s
y
e
p
i
e
c
e
s
l
e
s
c
o
p
e
l
e
s
c
o
p
e
5
Figure 2-1
Figure 2-2
