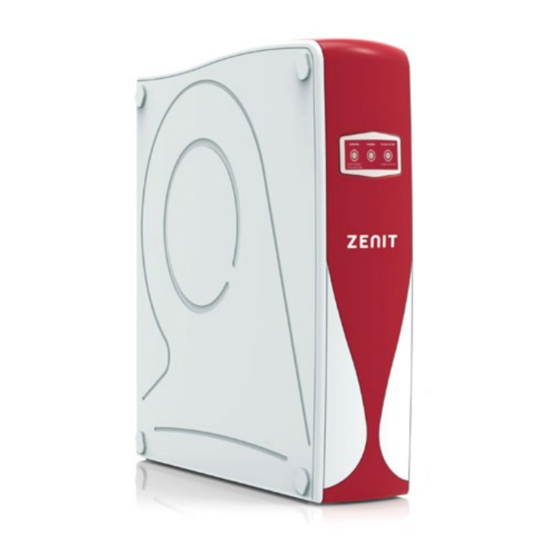
Hidro-Water ZENIT User& Installer's Manual - Page 6
Browse online or download pdf User& Installer's Manual for Water Filtration Systems Hidro-Water ZENIT. Hidro-Water ZENIT 15 pages. Residential reverse osmosis

g. The other end of the ⅜" tube must be connected to the inlet of the ZENIT osmosis
system (Figure-1), where it is marked "FEED WATER IN". Insert it fully. Once inserted
put on the ⅜" security clip.
h. Screw the faucet adapter (Figure-12) to the
faucet. Then connect ⅜" tube (Figure-5) to the
faucet adapter. Insert it fully. Once inserted
put on the ⅜" security clip .
i.
The other end of the ⅜" tube must be
connected to the outlet at the rear of the
osmosis system marked "FAUCET". Insert it
fully. Once inserted put on the ⅜" security clip.
j.
Connect the ¼" tube (Figure-4) to the outlet
at the rear of the osmosis system marked
"DRAIN". Insert it fully. Once inserted put on
the ¼" security clip.
k. The other end of the ¼" tube must be inserted
through the nut on the drain clamp (Figure-6).
After inserting the corresponding ¼" plastic
insert (Figure-10), screw the nut back on the
drain clamp.
l.
Plug the power supply adapter into the ZENIT osmosis system.
m. Connect the power supply plug into an electrical outlet of 220 – 240 V.
Here is a diagram of how the system should be installed.
Faucet
1/4"Tube
3/8"Tube
Osmosis
system
10
Drain clamp
220V
Water supply
(inlet)
Drainpipe
MA-ES-RO-ZENIT_RO-0236-02_FL_20_V02
5.- OSMOSIS SYSTEM START-UP
a. Make sure that all the connections are connected properly and tightened and the
ZENIT system is connected to the 220 – 240V power supply.
b. Close the water supply closing the ball valve
(Figure-9).
c. Check that the arm of the WATER STOP leak
detector is lowered as indicated in the picture so
that the water can enter the osmosis system.
d. Remove the CTO cartridge from its clamps, disconnect the ⅜" tube that is
connected to the inlet elbow on the same cartridge removing the corresponding
security clip. Disconnect the tube as shown in the picture and facing it towards a
bucket or container.
e. Open the water supply opening the ball
valve (Figure-9) as shown. Make sure there
is no water leak. If there is, close the valve
and fix it.
f.
Let the water run until its clear. This way
we can make sure that there isn't any
residue trapped in the membrane that
the granular carbon filter could have let.
g. Close the brass ball valve at the water inlet (Figure-9) and reconnect the tube to
the inlet elbow CTO cartridge, insert it fully and replace the ⅜" safety clip. Open
again the water supply opening the brass ball valve (Figure-9).
h. Open the faucet and let the water run between 6 – 10 minutes to remove the
chemical product that has come from the membranes which is used to protect
them from microbiological contamination. This product isn't dangerous but could
affect the taste.
MA-ES-RO-ZENIT_RO-0236-02_FL_20_V02
11
