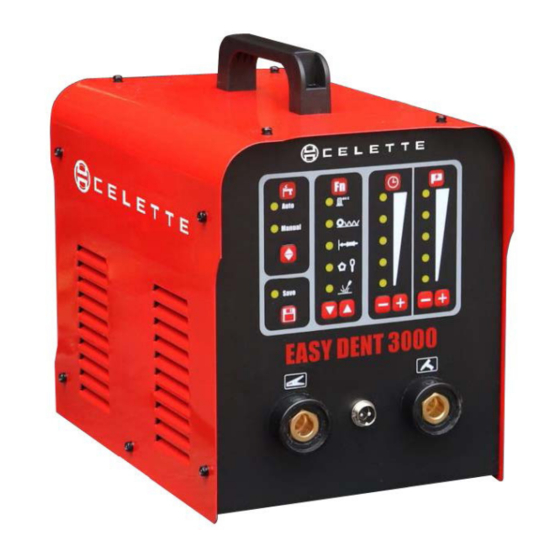
CELETTE EASY DENT 3000 Original Manual - Page 10
Browse online or download pdf Original Manual for Welding System CELETTE EASY DENT 3000. CELETTE EASY DENT 3000 14 pages.

THE WELDING MODE SETTING INSTRUCTION:
1. AUTO MODE:
When setting auto mode, the machine can do the welding need to press on the torch switch. Make sure
the torch, work cable and work piece are good connection, wait for the delay timer, the machine will
output power and welding. When the setting welding time up, the machine will stop output, the torch
need to left to the work piece. If the torch contacts the work piece again, the machine will output again.
Note: The torch can not contact the work piece all the time. After finished welding, if the torch and
work piece are still contacting, will show. The power indicator LED will be blinking for warning, the
torch need to left to the work piece. And then the machine can be welding again.
2. MANUAL MODE:
Contact the torch to the work piece and press the torch switch, the machine will output power. If the user
select welding timer, the machine will stop output when the welding time up.
If the user selects continuous welding, the machine will keep output till to the user turn off the torch switch.
5. INSTRUCTION FOR CAR REPAIR WORK:
SPOT WELDING:
1. Power switch on, setting suitable function (Auto, Manual-Timer or Pulse).
2. Setting the spot welding current.
3. Setting work clamp.
4. Spot-welding the washer. Washer drawing with slide hammer.
Attention: The work clamp need near the welding spot.
SHEET UPSETTING:
1. Power switch on, setting suitable function (Auto, Manual-timer or Pulse).
2. Setting output current.
3. Setting work clamp.
4. Sheet upsetting.
SHEET WARNING:
1. Power switch on, setting suitable function (Manual-2T Ctrl).
2. Setting output current (low current).
3. Press the trigger of torch
The output power is "ON" continually.
If release the trigger of torch, the output power is "OFF".
DO NOT USE CONTINUOUSLY THIS FUNCTION FOR LONG TIME, OR ELSE THAT WILL DAMAGE
THE TRANSFORMER.
www.celette.com
Page No: 10
