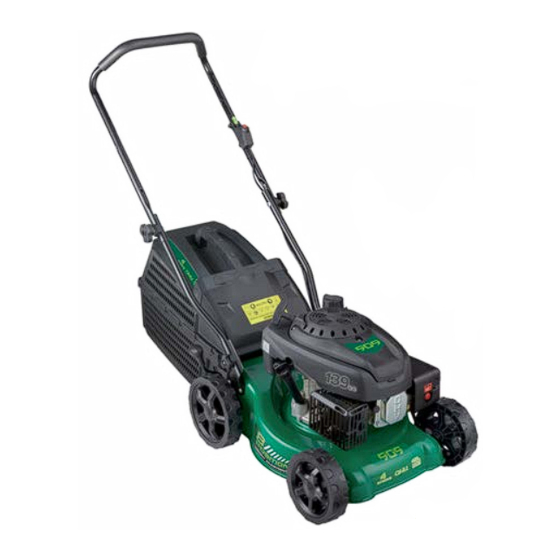
909 50620 User Manual - Page 15
Browse online or download pdf User Manual for Lawn Mower 909 50620. 909 50620 19 pages. 139cc 4 stroke petrol lawn mower
Maintenance
Air Filter Maintenance
WARNING: Ensure the motor is switched off
before undertaking this task.
IMPORTANT: A dirty air filter (20) will restrict air flow to the carburettor.
To prevent carburettor malfunction, service the air filter (20) regularly.
Check that the air filter (20) is clean and dry of dirt.
Filters thick with debris will not allow the engine to breathe and result in
difficult starting and poor engine performance.
The air filter (20) should be checked after approximately 25 hours of use,
or annually.
1. Open the air filter cover (21) by pushing in the
front tab to release the clip, and then pushing the
cover back and away to release the 2 back clips
and the full air filter cover (Fig Z).
2. Remove the foam element (Fig AA).
3. If the air filter (20) is excessively dirty, replace with
a new filter.
4. Wash the air filter (20) in liquid detergent and
water. Then allow it to thoroughly air dry.
Do not oil the air filter (20).
5. Re-install the air filter (20) and put the air filter
cover (21) back on ensuring the clips are securely
in place.
CAUTION: Never use fuel or low burning paint
solvents to clean the air filter (20). A fire or explosion
could result.
CAUTION: Ensure the air filter (20) is dry before re fitting.
Replacement air filters are available from www.extrabattery.com.au
or by calling Customer Service on 1800 909 909.
26
e-mail: [email protected]
MODEL: №. 50620
139cc 4 Stroke Petrol Lawn Mower
Z.
AA.
AFTER SALES SUPPORT
1800 909 909
(toll free)
139cc 4 Stroke Petrol Lawn Mower
Spark Plug Maintenance
To ensure the engine is operating correctly, the spark plug must be properly
gapped and free of carbon deposits. Always check the spark plug cable is firmly
fitted to the top of the spark plug.
CAUTION: If the engine has been running, the muffler will be very hot.
Be careful not to touch the muffler.
WARNING: Ensure the motor is switched off before undertaking
this task.
1. Remove the spark plug cap, then remove the spark plug using the supplied
spark plug spanner (28) in an anti-clockwise direction, and clean any
deposits.
2. Visually inspect the spark plug (24). Discard the spark plug if there is apparent
wear, or if the insulator is cracked or chipped.
3. Check that the end of the spark plug (24) is not blackened by carbon build
up. Clean with a soft wire brush if necessary.
4. Measure the plug gap with a feeler gauge. Correct as necessary by bending
the side electrode. The gap should be 0.7 - 0.8mm.
5. Thread the spark plug (24) in by hand to prevent cross-threading.
6. Once the spark plug (24) is seated, tighten with the supplied spark plug
spanner (28) to compress the washer.
NOTE: When installing a new spark plug, tighten 1/2 turn after the spark plug
(24) seats to compress the washer.
NOTE: When reinstalling a used spark plug, tighten 1/8-1/4 turn after the spark
plug (24) seats to compress the washer.
CAUTION. The spark plug (24) must be securely tightened. An improperly
tightened spark plug (24) can become very hot and may damage the engine.
The spark plug (24) should be changed after approximately 25 hours of use,
or annually. Replacement spark plugs are available from purchase from lawn
mower or small engine repair shops.
AFTER SALES SUPPORT
1800 909 909
(toll free)
Maintenance
27
e-mail: [email protected]
MODEL: №. 50620