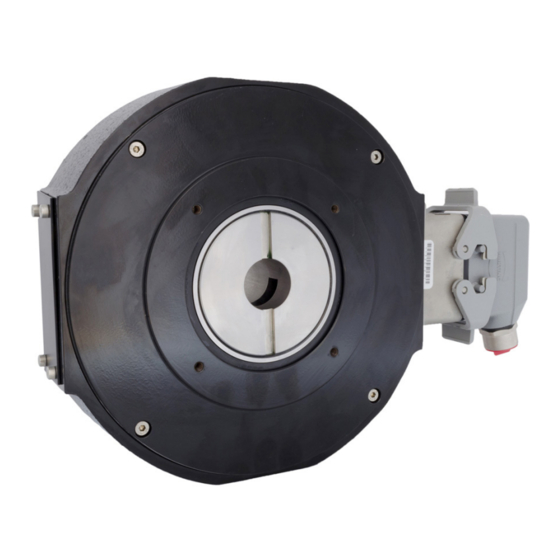
DYNAPAR NorthStar NexGen RIM Tach HT85 Installation Manual - Page 6
Browse online or download pdf Installation Manual for Media Converter DYNAPAR NorthStar NexGen RIM Tach HT85. DYNAPAR NorthStar NexGen RIM Tach HT85 7 pages.

1.2 ELECTRICAL INSTALLATION
IT IS VERY IMPORTANT that the mating connector
and the encoder body be isolated from electrical
ground in the wiring and conduit to prevent motor or
machine shaft eddy currents from going to ground
through the encoder bearings, as this will damage the
bearings over time. To insure that this is being done,
it is suggested that a plastic wiring/conduit adaptor or
non-conductive conduit is used to isolate the connector
from any metallic surface or conductive conduit. Please
see special note under table 1, for proper encoder
connector shielding. Also, to allow for proper encoder
grounding, the motor must be wired and grounded per
your local NEC Requirements.
Electrical connections are made to the sensor
module through a standard 1/2 inch NPT liquid tight
flexible conduit. The nipple length may be changed
to extend the outlet box if desired. Interconnection
cable recommendations are as follows: stranded
copper, 22 through 16 gage, braided or foil with drain
wire shielding 0.05 F maximum total mutual or direct
capacitance, outer sheath insulated. Shrink tubing may
be placed over any wires without insulation. For lengths
over 100 feet, use 18 gage or larger, to a maximum
of 1000 feet. If shielded twisted pair wire is used, do
not cross channels. Keep each pair of complementary
channel outputs together in a single twisted pair (e.g.,
A and A).
IMPORTANT: Reversing power and common will
not damage the unit. However, applying power to
any of the sensor outputs may cause damage.
1.3 QUICK RELEASE CONNECTOR HOOD WIRING
To install the Quick Release Connector, perform the
following steps.
1.Remove the four screws from the mating connector
housing that hold the terminal block in place. Re-
move terminal block from housing.
2.Insert wiring through liquid tight flexible seal and
mating connector housing. Leave enough wire ex-
posed to comfortably reach the terminal block. Wire
to terminal block according to wire code in Table 1.
A similar wiring list is attached to enclosure.
3.Tighten Liquid Tight fitting on housing. OPTIONAL:
In some hostile environments, seal between con-
nector body and Sensor Module can be improved
by smearing a sealant (silicone grease, etc.) on the
neoprene seal of the connector.
Page 6
4. Mate connector into place on sensor mount and
snap the two latches into place. If only one sensor is
being installed, ensure cover plate is installed over
other sensor hole.
Grounding: For applications with high ground
potential differences, DO NOT ground the encoder
through both machine and controls end. Connect
the shield at the controls end only. NOTE: If the
shield is connected at both ends, grounding
problems that degrade system performance can
result.
CE Grounding Measures – For best EMC
immunity the cable screen must be grounded on
both encoder and controls end. For cable lengths
longer than 30m or outdoor applications, additional
measures must be implemented to comply with
CE requirements. Connection of the encoder
to DC power supply network is prohibited if CE
compliance is required. CE-compliant products are
tested to EN61326-1 EMC.
In all cases, system CE compliance is ultimately the
responsibility of the manufacturer integrating the
encoder.
Table 1. Signal Coding Table
Signal
Connector Pin
Common
1
B
2
A
3
Z*
4
Alarm †
5
Vcc (5-26 VDC)
6
_
B
7
_
A
8
_
Z*
9
Shield
10
* Index (Z) optional. See Ordering Information
† Alarm not available with Pigtail cable. See Ordering Information
NOTE: The shield in the sensor module is
isolated from the frame of the encoder for
maximum noise immunity. The shield wire or
pin should be connected to the shield of the
cable and that of the drive or other receiving
device.
Pigtail Cable MS 3102E18-IT#
A
Black
E
Green
D
Blue
C
Violet
F
N/A
B
Red
H
Yellow
G
Gray
I
Orange
J
Braid
