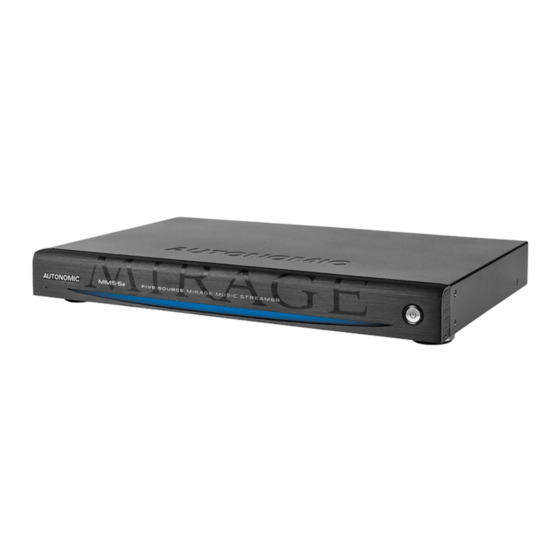
Autonomic MMS 5A Setup Manual - Page 6
Browse online or download pdf Setup Manual for Server Autonomic MMS 5A. Autonomic MMS 5A 17 pages. Mirage media server

Rack Mounting
The MMS·5A comes configured for a shelf mount installation. For rack mount installs, remove
the four feet from the bottom of the chassis and install the two supplied rack mount ears to the
front sides of the MMS·5A.
The MMS·2 is designed for shelf-mount installations. However, should you wish to rack mount
the unit, Middle Atlantic manufactures a rack mount shelf and faceplate customized to fit the
MMS·2.
Audio Connections
Using the supplied audio cables, connect 1-4 of the analog audio outputs to source inputs on
your amplifier or receiver. You may also connect the digital audio output and/or the USB audio
cable to a compatible amplifier. The digital output on the MMS·5A supports 24-bit/192kHz
digital audio, and the MMS·2 supports 24-bit/96 kHz audio.
NOTE
The MMS·2 utilizes jack detection technology to sense which audio outputs are connected. You
will not be able to control or access any analog audio channel that does not have the adapter
plugged in.
Video Connections
You can use the MMS On-screen Display to browse content, view photo slideshows and see
now-playing information about your audio program, you may connect the DVI or HDMI video
outputs to a compatible display device.
NOTE
Some HDMI receivers and switches can have compatibility issues with the MMS. If you receive
an error message on screen, or if the MMS seems non-responsive, try plugging the HDMI cable
directly into the display, bypassing any adaptors, switches, or AV receivers.
Control System Connections
If you are using an IP based control system, the Mirage Media Server can be controlled over IP
port 5004, and no further connections are necessary.
More information and control system modules for Crestron, AMX, RTI, Control4 and URC
systems are available at
5 of 16
www.autonomic-controls.com/support_downloads.php
.
Mirage Media Server Set Up
