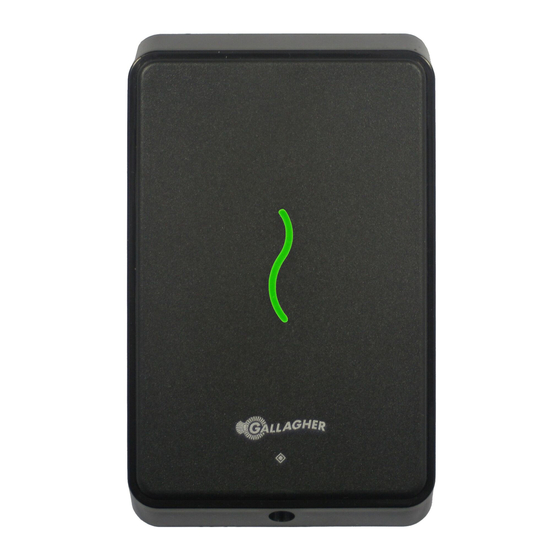
Gallagher T11 Installation Note - Page 4
Browse online or download pdf Installation Note for Card Reader Gallagher T11. Gallagher T11 11 pages.
Also for Gallagher T11: Installation Note (11 pages), Installation Note (13 pages)

Installation Note | Gallagher T11 Reader
3.
Secure the base to the flush box using the two 6-32 UNC screws provided. It
is important the base of the reader is flush with and tight against the mounting
surface.
If you are not mounting to a flush box, secure the base to the mounting surface
using the four fixing screws provided.
4.
Connect the reader tail extending from the facia assembly to the building cable.
Connect the wires shown below.
Note: Do not cut the 'Reserved' wires, they may be required later.
5.
Fit the facia assembly into the base by clipping the small lip, into the top of
the base and holding the top, press the bottom of the facia assembly down
into the base.
6.
Insert the M3 Torx Post Security screw (using a T10 Torx Post Security screwdriver)
through the hole at the bottom of the base to secure the facia assembly.
Note: The recommended torque for the security screw is 0.7Nm (0.5 lb/ft). It
is important not to exceed the maximum torque of 1.5Nm (1.1 lb/ft).
4 | Part Number: 3E2513 R1
6-32 UNC screw
Building cable
6-32 UNC screw
Positive
Red
Negative
Black
Reserved
Orange
Reserved
Green
Reserved
Brown
CDXIV TX
White
CDXIV RX
Blue
Base
