Maico 0084.0361 Installation And Operating Instructions Manual - Page 12
Browse online or download pdf Installation And Operating Instructions Manual for Fan Maico 0084.0361. Maico 0084.0361 16 pages. Er ec covers for er ec flush-/surface-mounted exhaust air systems (according din 18017-3)
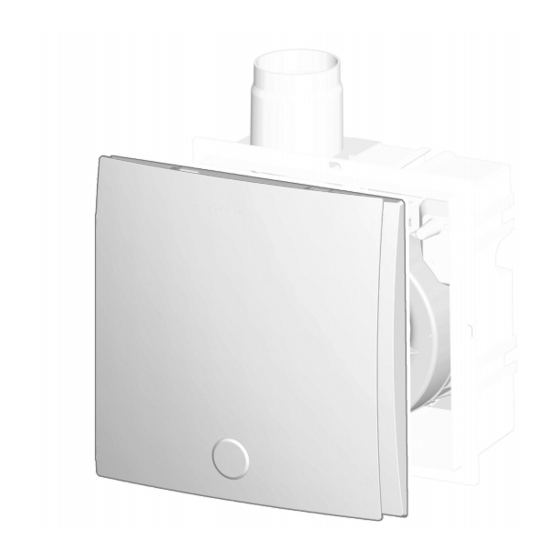
11 Operating the unit
11.1 Settings with touch control unit
ER-AK, ER-AH, ER-AB
RESET Reset filter change interval
LED
Filter change display
Sensor Humidity sensor (ER-AH) or motion
sensor (ER-AB)
V1,V2
Main menu with menu level V1, V2, Te,
...
Ta or Ti
MENU Select/save operating parameters (set
values – menu level)
+ / -
Select menu level/operating parameters
V1
Volumetric flow, basic ventilation [m³/h]
V2
Volumetric flow, nominal ventilation [m³/
h] (full load level)
Te
Start delay [in seconds]
Ta
Overrun time [in minutes]
Ti
Interval time [in hours], then air extrac-
tion duration 10 minutes.
11.1.1 Filter change function
The air filter must be changed every 6 months, re-
gardless of the operating time.
After filter change time has expired, the fil-
ter change LED blinks (red) every 5 sec.
Before resetting the filter change interval, push
the <RESET> button for 2 seconds. As a confirm-
ation, the filter change LED flashes 1x briefly. A
new RESET is not possible for the next 6 months.
12
11.1.2 Changing setting parameters
1
1
flashe
s
V1
20
V2
20
(60)**
Te
0
30
Ta
0
3
Ti
0
1
* Additional setting values for ER-AK, ER-AB
** Setting values for ER-AH
• Main menu: Menu levels V1, V2, Te, Ta and Ti
• Submenus (Parameter menus): LEDs 1 to 5
show the selected setting values.
• Bold = factory setting
• To select and save the setting value (parameter
value), press the <MENU> button.
Operating concept
1. Press <MENU> button for 2 seconds.
ð Main menu V1 is selected, the 1st LED is lit
up red.
2. With the button <+> or <–>, select the menu
level V1, V2, Te, Ta or Ti, display with LEDs
(ascending/descending). The figure shows
menu level Ta.
3. Press the button <MENU> to change para-
meter level (LED flashes briefly 2x).
ð The last set value is shown (the corres-
ponding LED is lit up constantly*). Here, the
parameters of the respective level are avail-
able to you. Example Ta: 0, 3, 6, 15, 24 or
30 minutes ( → Table).
* To switch off the Te start delay, Ta over-
run time or Ti interval time, push the <–>
button until the V1 LED flashes.
4. Press <MENU> button for 2 seconds.
ð The setting is saved. All 5 LEDs switch off.
LEDs
2
3
4
30
40
60*
30
40
60
(100)*
*
60
90
120
6
15
24
2
4
6
5
100*
100
30
12