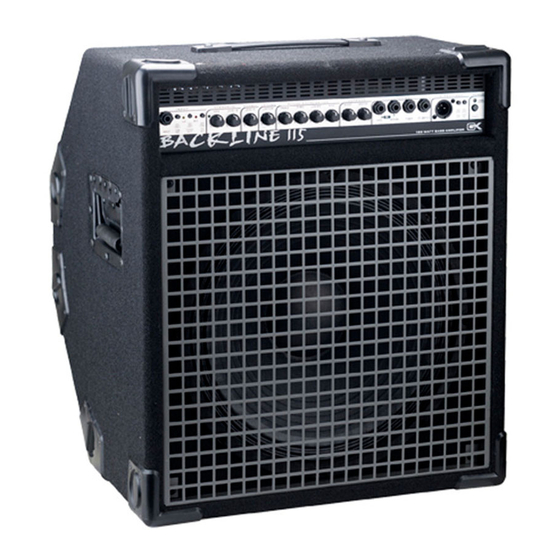
Gallien-Krueger Backline Series sheet Owner's Manual - Page 5
Browse online or download pdf Owner's Manual for Enclosure Gallien-Krueger Backline Series sheet. Gallien-Krueger Backline Series sheet 16 pages. Backline series
Also for Gallien-Krueger Backline Series sheet: Specification Sheet (2 pages)

Quick Start
Your Backline unit is designed to be simple to operate. All
controls have a well defined purpose and are well behaved.
These directions will take you through the basics and give
you a good start for setting up your sound.
1.
Set the power switch to Off and connect the supplied power
cord from the amplifier AC receptacle to an AC power
outlet of proper voltage and power rating (see safety
information on page 5 for details).
2. (Backline 350/250/600 Only)
Connect your speaker cabinet to the amplifier output
marked 175W/125W/300W. Be sure not to go below the
recommended speaker load listed below. Take note also
that the speaker cabinets power capacity must be equal or
higher than the ouput power of the unit.
Minimum Recommended Speaker Load:
One 4 0hm or two 8 ohm cabinets or One 8 ohm cabinet
for Backline 350
Backline 350
Backline 350
Backline 350 and Backline 600.
Backline 350
Backline 600.
Backline 600.
Backline 600.
Backline 600.
For Backline 250
Backline 250
Backline 250 minimum load impedance is 8 Ohm,
Backline 250
Backline 250
that will translate to one 8 Ohm cabinet or two 16 Ohm
cabinet.
If you are using a GK RBH/SBX
GK RBH/SBX
GK RBH/SBX
GK RBH/SBX series cabinet, set the
GK RBH/SBX
crossover switch to full range.
For Backline 115
Backline 115
Backline 115 and Backline 210
Backline 115
Backline 210, The minimum
Backline 210
Backline 210
Backline 115
Backline 210
load impedance is 4 ohms. With the internal cabinet
connected, the minimum impedance of an external
speaker cabinet that can be connected is 8 ohms
3.
Set all EQ controls and the Boost control to 12 o'clock.
The Voicing Filter should be turned all the way down to
get a flat response. Set the Gain, Level-A, Level-B and
Master Volumes at 0. Set the A/B switch to off (Channel
A).
4.
Using an instrument cable, connect your bass to the Input
jack and turn the power switch on, set the master control
to 3 o'clock, slowly bring the Level-A volume up and play.
If the clip LED flashes excessively, push the button marked
- - - - - 10db in. Occasional clip light flashes while playing very
hard, is normal and should not raise any concern . Do
Backline Series
Backline Series
Backline Series
Backline Series
Backline Series
not turn the volume control in the input section past 1
o'clock unless you want an overdrive effect. If you have a
bass with passive electronics make sure that the controls
on the bass guitar are all the way up. If you have a bass
with active electronics, set all controls on the bass to the
middle or flat position.
At This Point:
You should be hearing your bass quite well. You can use
the volume and Master to achieve a comfortable sound
level.
5.
Now you are ready to check out the overdrive feature
(Channel-B). Push in the Level A/B button. The over-
drive LED should light. Set the Gain control to 9 o'clock
as a starting point. Slowly raise the Level-B volume to the
desired sound level. This will give a slightly distorted
sound. Raising the gain will add more distortion and
sustain. (See Sound Tips for more detail).
Characteristics of the Backline:
The Backline Series are flexible, user-friendly state-of-the-
art bass series, designed to deliver maximum perfor-
mance. This is accomplished through these important
features:
.
.
.
.
.
5
Extremely high current power supply and
power amp circuitry, gets the sound
out of your head.
Four bass specific bands of active equalization
for Precise tone control.
An adjustable voicing filter for shaping and
customizing your sound.
Balanced direct output eliminates the need for
a direct box.
Bass specific overdrive channel for all
modern sounds.
