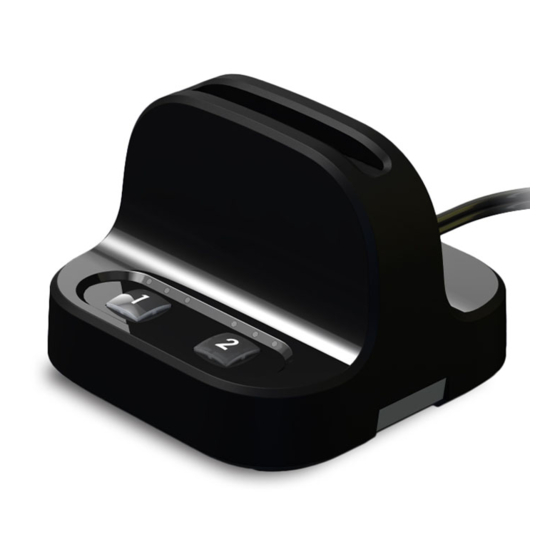
HighSecLabs RS40N-4 Quick Configuration Manual
Browse online or download pdf Quick Configuration Manual for Card Reader HighSecLabs RS40N-4. HighSecLabs RS40N-4 3 pages. Secure multi-domain smart card reader

Secure Multi-Domain Smart Card
Reader
Models:
RS20N-4 Secure 2-Port Multi-Domain Smart Card Reader
RS40N-4 Secure 4-Port Multi-Domain Smart Card Reader
Intended Audience
This document is targeted at the following professionals:
•
System Administrators.
•
IT Managers with adequate knowledge of PKI
architecture.
Objectives
This document describes the fundamental configuration procedures
that are required to install the HSL Multi-Domain Smart Card
Reader.
Prerequisites
•
Obtain and install the applications, drivers and files of the
cryptographic software (CSP) which corresponds to your selected
smart card vendor.
•
Obtain a smartcard from your selected smart card vendor.
•
Verify that your smart card setup works correctly on each PC
using a standard smart card reader prior to connecting the
MDR.
Initial MDR Configuration Steps
Table 01 describes the initial MDR configuration steps
#
Action
Install Smart Card
1
Applications
2
Turn PC ON
Test Smart Card using a
3
Standard Reader
4
Connect MDR to Power Connect the MDR to Power
Connect USB
5
Cables to PCs
Insert Smart Card
6
into the MDR
Initial Association
7
with PC#1
Initial Association
8
with PC#2
©2019 All rights reserved. HSL logo and product names are trademarks or service trademarks of HighSecLabs Ltd (HSL).
All other marks are the property of their respective owners. Images for demonstration purposes only. HDC19964 Rev 1.0
Action Description
Verify that the applications, drivers and files of the cryptographic
software (CSP) that corresponds to your selected smart card vendor
are installed on all the computers that you plan to connect to the
MDR.
Note: Perform a computer restart in case needed to complete the
smart card application installation.
Make sure that all the PCs are turned ON.
Verify that your smart card setup works correctly on each PC
using a standard smart card reader prior to connecting the
MDR.
Connect the MDR USB cables to the computers. Cable
numbers correspond to the numbered MDR buttons.
Insert your smart card into the MDR reader socket.
Note: Make sure the smart card chip is facing towards you.
Press PC Number Button#1 to initialize the MDR on
PC#1.
Press PC Number Button#2 to initialize the MDR on
PC#2.
Notes: Repeat the process on the remaining PCs.
RS20N-4 • RS40N-4 | QUICK CONFIGURATION GUIDE
Hardware Terms
The following terms are used to describe
hardware elements in this document:
1. Numbered USB Cables: USB Cables with numbered connectors.
2. Card Reader Slot
3. PC Association Led
4. PC Number Button
5. PC Number Led
6. DIP Switch
2
3
4
5
Expected Behavior
1 second beep sound. All LED lights
blink once.
All PC Number LED lights blink constantly.
1 second beep sound. All lights are
.
OFF
PC Number Button#1 light blinks for 5 seconds and when the
association is made, the light is ON constantly.
The MDR appears as a smart card reader under PC#1
device manager.
PC Number Button#1 light turns OFF. PC Number
Button#2 blinking 5 seconds and then light turns ON
constantly.
The MDR appears as a smart card reader under PC#2
device manager.
1
6
