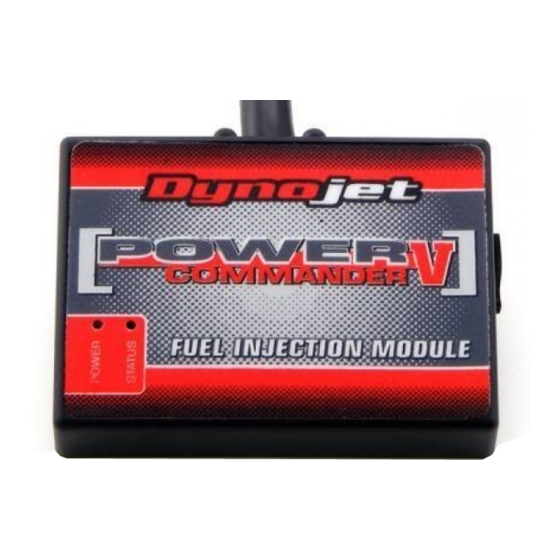
Dynojet 450f Installation Instructions - Page 3
Browse online or download pdf Installation Instructions for Motorcycle Accessories Dynojet 450f. Dynojet 450f 4 pages. 2012-2014 kawasaki kx450f

FIG.A
FIG.B
FIG.C
17-038
www.powercommander.com
Unplug
1
Remove the seat, fuel tank, and the number plate.
2
Using the supplied Dual Lock strips, secure the PCV module to the back side
of the number plate (Fig. A).
Use the supplied alcohol swab to clean both surfaces prior to applying the
Dual Lock adhesive.
3
Route the PCV harness to the left side of the frame following along the throttle
cable towards the bike's throttle body.
4
Unplug the stock wiring harness from the bike's Fuel Injector (Fig. B).
5
Plug the PCV wiring harness in-line of the Fuel Injector and the stock wiring
harness (Fig. C).
2012-2014 Kawasaki KX450F - PCV - 3
