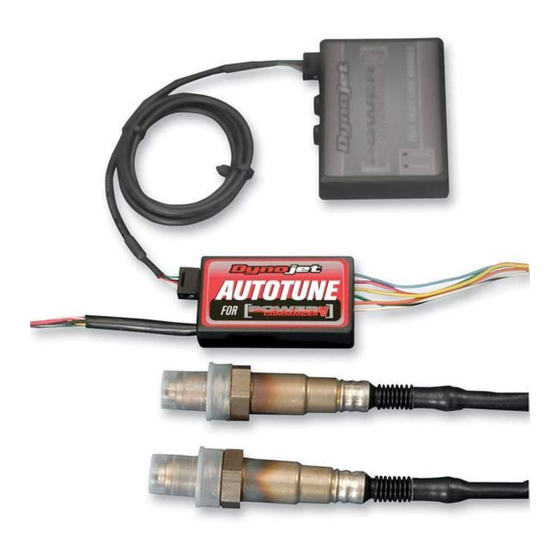
Dynojet Autotune Basic Installation And Placement Instructions - Page 2
Browse online or download pdf Basic Installation And Placement Instructions for Motorcycle Accessories Dynojet Autotune. Dynojet Autotune 2 pages.

•
It is recommended to load a base map into the PCV that best
corresponds to your bikes current configuration. This will decrease the
time in which it takes for the Autotune module to achieve its target air/
fuel.
•
A switch can be wired into the PCV. The switch can be used to toggle
between your base map and learning mode. Any SPST (open/close)
type switch can be used. When the switch is OPEN the PCV will be
running on the base map. When the switch is CLOSED the PCV will go
into learn mode and Autotune will start making fuel trim adjustments.
You can toggle between these modes at any time. The values learned
for the fuel trims will be saved if you toggle back to the base map.
•
After a riding session you can view the Trim table by clicking on the
respective cylinder in the tree view. To accept these trims and transfer
them into the Fuel map click on Auto Tune - accept trims. This will zero
out the trim table(s) and add the trim values to the base map(s).
The PCV is configured to only allow the software to trim +/- 20 until you
manually accept the trims. You can alter these limits in the Auto Tune
configuration. The more the PCV learns the lower you can make this
value. By lowering this value it will work as a safety net so if something
should go wrong in the unit or bike it will not cause the bike to run
poorly.
•
To verify that Auto tune is working you should see a real time AFR
reading in the lower right hand corner of the software.
A value of 0.00 could indicate a faulty sensor or the sensor wired
incorrectly to the module.
A value of 9.99 could indicate that the CAN termination plugs have not
been installed or Autotune has not been enabled in the software.
Tech tips
•
If you should see abnormally high values in the trim tables then check
the following:
•
Intake leaks
•
Exhaust leaks - check at all exhaust junctions
•
Reversion - If using the stock headers with aftermarket slip-ons the
rear cylinder O2 sensor may see inaccurate readings. In these cases
you may have to zero out the Target AFR table for the rear cylinder
below 20% throttle. You can copy the values from the front cylinder
fuel table into the rear cylinder fuel table for below 20% throttle if
needed.
Reversion can also be an issue on both cylinders if using extremely
short exhausts.
•
Sensor condition - (see sensor test )
•
Dynojet does not recommend inputting values in the 0% column of the
Target AFR tables. If you shoud need to tune the 0% column to combat
popping on deceleration input values directly in the Fuel tables.
• If fuel mileage is a concern then you can alter the Target AFR values in
the cruise range. Dynojet considers the cruise range to be 2500-
3500rpm and 5-20% throttle (excluding Vrod). Stock AFR values for
this range is 14.7:1 so you can lean out the base settings up this value
if desired. Dynojet does not recommend making the bike any leaner
than 14.7 in the Target AFR cells.
•
Dynojet has found that for the best compromise of fuel mileage and
throttle response to set the cruise range to 13.7-14.0.
•
For all other ranges 12.8-13.4 seems to work best. For the best
results it is recommended to bring the bike to an Authorized Tuning
Center to have them verify the AFR values.
•
Make sure the sensor is not dropped or subjected to wet conditions.
The O2 sensors used in this kit are a Bosch unit and do not come with
any warranty.
O2 sensor test
•
The Autotune kit has a built in circuit which allows you to test the sensor
accuracy and condition.
•
Remove the sensor from the exhaust system and hold in ambient air.
•
Verify the Autotune kit has been powered up for at least 1 minute.
•
Press and hold the function button on the front of the corresponding
Auto tune kit for 3 seconds and release the button.
•
The LED light will blink rapidly,
pause for a moment, and then
begin to flash.
•
Count the number of flashes
and refer to the chart.
•
Retest the sensor if there is
any question as to the purity
of the air during the test.
Auto Tune Installation Guide - 2
