Dynojet power commander III Installation Instructions - Page 3

Browse online or download pdf Installation Instructions for Automobile Accessories Dynojet power commander III. Dynojet power commander III 3 pages. 2004 kawasaki zx12r
Also for Dynojet power commander III: Installation Instructions (5 pages), Installation Instructions (5 pages), Installation Manual (3 pages), Installation Instructions (4 pages), Installation Manual (3 pages), Installation Instructions (4 pages), Installation Instructions Manual (3 pages), Instalation Instructions (3 pages), Instalation Instructions (3 pages)
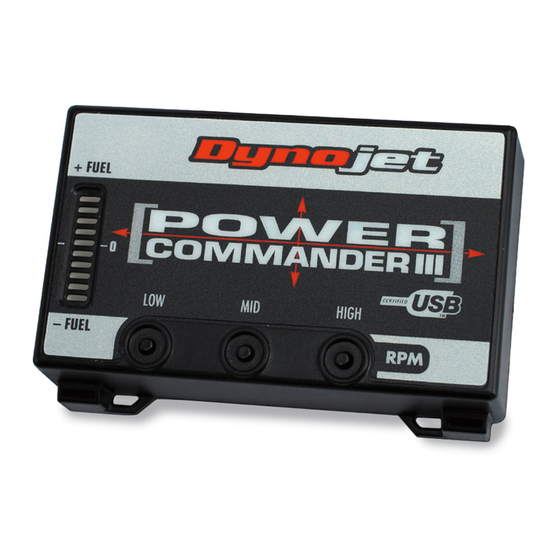
Dynojet power commander III Installation Instructions
Ground wire from PCIII
i419-411
www.powercommander.com
8
Route the ground wire to the right
hand side of the throttle bodies.
Route the ground wire under the
frame cross member and above the
radiator.
9
Attach the ground wire to the negative
side of the battery (Fig. D).
10
Install the PCIII in the tool kit tray
(Fig. E) using the supplied velcro.
Make sure to clean both surfaces with
the supplied alcohol swab before
attaching velcro.
11
Make sure all wires are routed so that
they will not get pinched.
12
Reinstall the fuel tank and seats.
Note:
It is recommended to disconnect the
stock O2 sensor to get the full poten-
tial out of the bike and the Power
Commander .
Follow the wires com-
ing out of your exhaust and discon-
nect these wires where it goes into the
main wiring harness.
2006-2007 Yamaha FJR 1300 - PCIII USB - 3