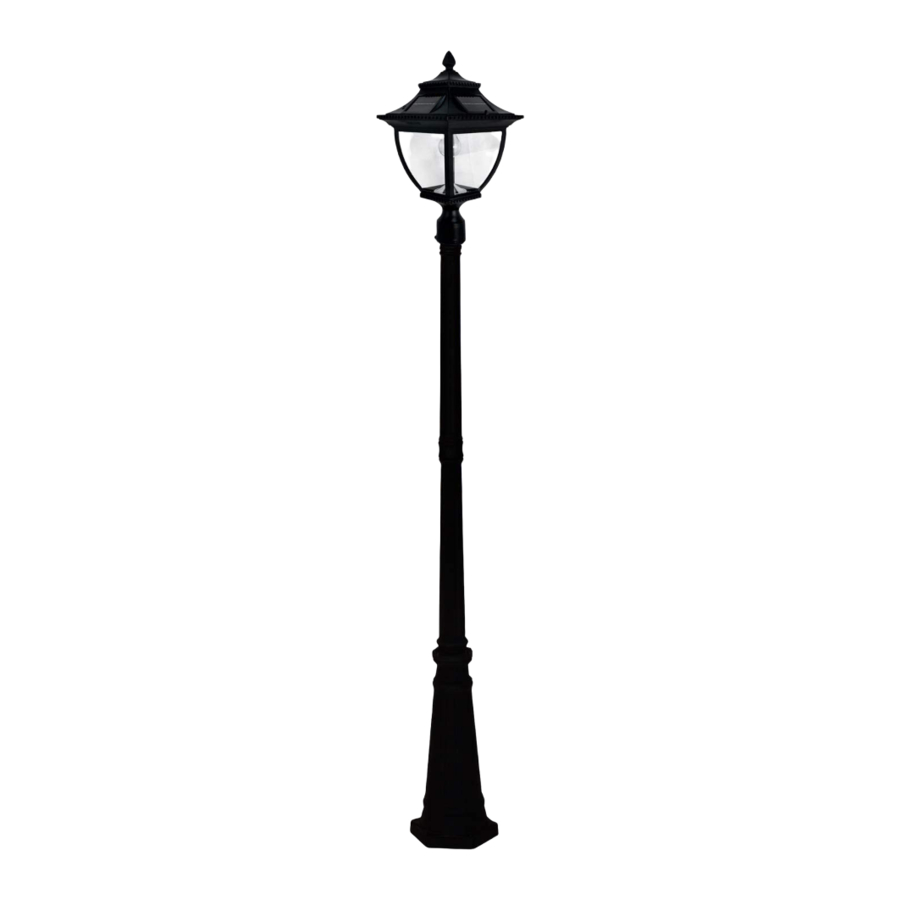
Gama Sonic GS-104B-F Instruction Manual - Page 3
Browse online or download pdf Instruction Manual for Outdoor Light Gama Sonic GS-104B-F. Gama Sonic GS-104B-F 4 pages. Pagoda bulb solar lamps

GS-104B-S
1. Mark and drill three holes, into a solid surface no smaller than the
fastening screws. The holes need to be lined up with the holes of the
lamp base (D).
2. Put the fastening screws (included) into the drilled holes with their
threaded ends facing up (Fig. 2).
3. Place lamp base onto fastening screws and secure base with the nuts
using a wrench (Fig 3).
4. Make sure the lamp base (D) is stable before installing Part (E).
5. Place part (E) on top of part (D) and tighten with the provided screws
using a wrench.
6. Screw part (G) onto part (E) and part (F) onto part (G).
7. Place Part (A) on top of Part (F) and tighten the 3 screws.
For models GS-104B-F/P/W
Install the desired bracket [ 3" Fitter (M), Post (L), Wall (N) ] into light fixture
(A) by turning it clockwise.
GS-104B-P
Use a drill to make two holes in the desired surface, place provided anchors
into holes, place the base (L) in line with the holes and secure using the
provided screws.
GS-104B-F
Place Part (M) on top of your existing 3" post and tighten the 3 screws
provided to secure the lamp.
GS-104B-W
NOTE: Position your solar lamp facing south for best results.
Use a drill to make two holes in the wall, place provided anchors into holes,
place the wall bracket (N) in line with the holes and secure using the provided
screws.
Fig. 2
Fig. 3
GS-104B-S
